Follow this tutorial to create a new Connector in just a few simple steps.
Are you tired of manually managing public holiday data for your business processes? Integrating with the Nager.Date API can help streamline your workflows and save you valuable time. And with Camunda Platform’s Connector templates feature, integrating with external systems like the Nager.Date API is a breeze.
In this blog post, we’ll guide you through the process of customizing a Connector template to connect to the Nager.Date API. With this Connector template, you’ll be able to easily incorporate public holiday data into your BPMN flows and automate your business processes.
What is a Connector template?
A Connector template for Camunda 8 is a JSON file that defines a pre-configured connector component, and influences its appearance and behavior in Modeler. Through the template, designers can pre-configure input parameters, control their visibility, and restrict their values to specific options. This simplifies the Connector’s use within BPMN workflows and ensures consistent behavior across different processes.
How can I customize a Connector template?
You have two options, starting from scratch or customizing an existing template. In most cases, the latter is the faster and easier way to get started. In this blog post, we’ll guide you through the process of customizing an existing Connector template.
Step 1: Use an existing template
To connect to the Nager.Date API, we’ll start by choosing a Connector template that matches our integration requirements. One template that can work well for this use case is the REST Connector Template for a single operation. You can find this template in the Camunda Connectors repository on GitHub. Once you’ve identified the template, download the template file and save it locally.
Step 2: Upload the template to the Web Modeler

Next, open the Camunda Platform Web Modeler and log in to your account. From the project menu, select “create new file” and click the button “upload files” to upload the template file you downloaded in Step 1. After uploading the file, the template will appear in your project list. Simply click on it to open the template editor, where you can customize the REST Connector template according to your needs.
Step 3: Rename the Connector

The first customization you might want to make is to rename the Connector to something that reflects your use case. In this example, we’ll call it “Worldwide Public Holiday”.
Step 4: Update the description and icon
Next, we’ll update the Connector’s description and icon to better match our needs. Find the line of code that says "description": "Invoke REST API" and replace it with "description": "Get public holiday information for a given year and country". To update the icon, you can either edit the JSON file directly or use the “Upload Icon” button to replace the default icon with an icon that represents public holidays.
Step 5: Update the documentation Link
"documentationRef":https://github.com/bastiankoerber/camunda-connector-public-holiday/blob/main/README.md"
To provide additional documentation for your Connector, you can update the "documentationRef" field with a link to your own documentation. Simply replace the existing link with the URL of your documentation page.
Step 6: Remove authentication
{
   "label": "Type",
   "id": "authenticationType",
   "group": "authentication",
   "value": "noAuth",
   "type": "Hidden",
   "binding": {
     "type": "zeebe:input",
     "name": "authentication.type"
   }
 },
The Nager.Date API doesn’t require authentication, so we can remove the entire authentication group from the template. Set the "authenticationType" field to "noAuth" and hide the authentication option. Then, remove any other lines of code that are related to authentication.
Step 7: Hide HTTP method and URL
{
     "id": "method",
     "label": "Method",
     "group": "endpoint",
     "type": "Hidden",
     "value": "get",
     "binding": {
       "type": "zeebe:input",
       "name": "method"
     }
   },
Since the Nager.Date API always uses the same HTTP method and URL structure, we can hide these fields and pre-fill them with the correct values. In this example, we prefill the HTTP method with "GET" and hide the field.
{
   "type": "Hidden",  "value":=\"https://date.nager.at/api/v3/publicholidays\"+\"/\"+year+\"/\"+countryCode",
   "binding": {
     "type": "zeebe:input",
     "name": "url"
   }
 },
We prefill the URL field with the API endpoint for public holidays and hide it to prevent users from accidentally modifying it, see next step. The regex with year and country code will be explained in the next step.
Step 8: Add Input Parameters
{
   "label": "Year",
   "description": "Define the year",
   "group": "input",
   "type": "String",
   "feel": "optional",
   "binding": {
     "type": "zeebe:input",
     "name": "year"
   },
   "constraints": {
     "pattern": {
       "value": "^(19[3-9][0-9]|20[0-9][0-9]|2099)$|(=.+)",
       "message": "Year must be between 1930 to 2099"
     }
   },
   "optional": false
 },
 {
   "label": "Countrycode",
   "description": "You can find the available countrycodes <a href=\"https://date.nager.at/Country\" target=\"_blank\">here</a>",
   "group": "input",
   "type": "String",
   "feel": "optional",
   "constraints": {
     "pattern": {
       "value": "(^[A-Z]{2}$|=.+)",
       "message": "The Countrycode consists of two letters"
     }
   },
   "binding": {
     "type": "zeebe:input",
     "name": "countryCode"
   },
   "optional": false
   },
},
To make the Connector dynamic, you’ll need to add input parameters that can be filled in at runtime. For the Nager.Date API, we need two required input fields: "Year" and "Country Code". We create two new input fields for these parameters and add conditions to ensure that users enter only valid values (numbers for "Year" and two letters for "Country Code"). We also add regex and input to the URL to ensure that the values are properly formatted for use in the Nager.Date API endpoint.
{
   "type": "Hidden",
   "value": "=\"https://date.nager.at/api/v3/publicholidays\"+\"/\"+year+\"/\"+countryCode",
   "binding": {
     "type": "zeebe:input",
     "name": "url"
   }
 },
Step 9: Hide Header Information
In this example, we don’t need to add any header information, so we simply hide this section of the Connector template and leave it blank.
Step 10: Define the Output
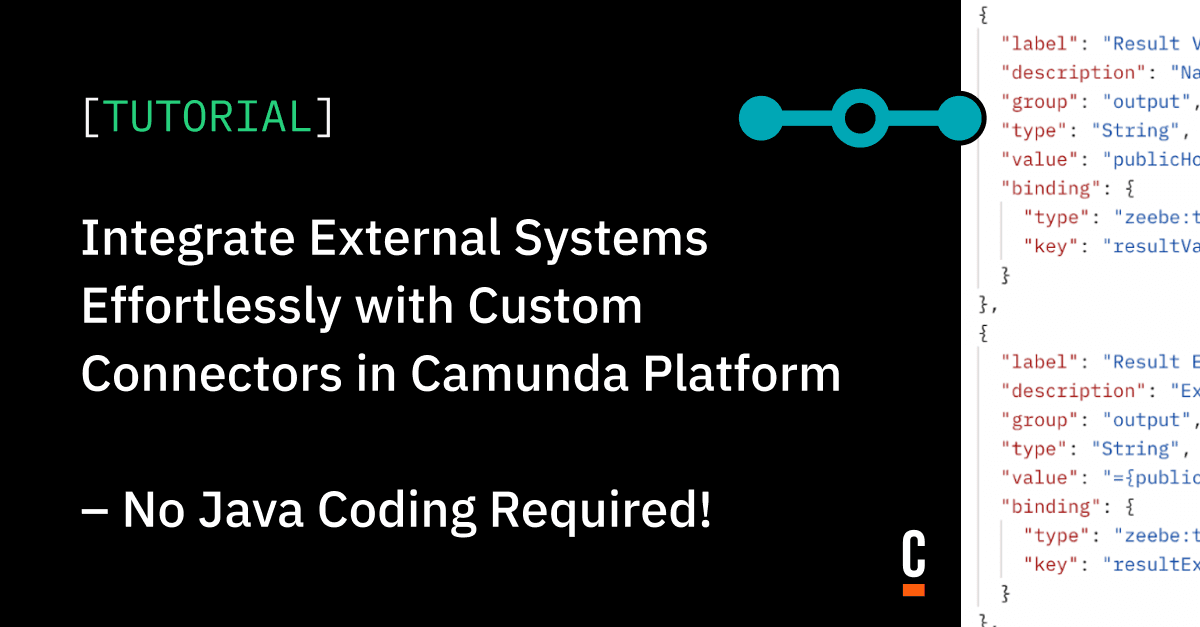
{
   "label": "Result Variable",
   "description": "Name of variable to store the response in. Details in the <a href=\"https://docs.camunda.io/docs/components/connectors/use-connectors/#result-variable\" target=\"_blank\">documentation</a>",
   "group": "output",
   "type": "String",
   "value": "publicHolidayList",
   "binding": {
     "type": "zeebe:taskHeader",
     "key": "resultVariable"
   }
 },
 {
   "label": "Result Expression",
   "description": "Expression to map the response into process variables. Details in the <a href=\"https://docs.camunda.io/docs/components/connectors/use-connectors/#result-expression\" target=\"_blank\">documentation</a>",
   "group": "output",
   "type": "String",
   "value": "={publicHolidayList: response.body}",
   "binding": {
     "type": "zeebe:taskHeader",
     "key": "resultExpression"
   }
 },
},
Finally, you can define the output of your Connector. This will depend on the specifics of your needs, but in general, you’ll want to specify what data the API endpoint will return and how. In our case we prefilled the variables and expression, but we are not hiding it to give our end users enough flexibility.
Step 11: Publish the Connector Template

Click on publish and define a version. If you leave it empty, a version number will automatically be created.
Step 12: Configure it in our BPMN workflow

After we create the template and publish it, we can now use it in our Camunda BPMN workflow. Let’s create a new BPMN file and add the Connector to it. Configure the Connector with the required inputs: Year and Country Code.
Step 13: Test it

After we create the template and configure it in our BPMN file, we want to test the Connector using our new “Play” Functionality. By clicking on the “Play” button, a new test cluster will be created where we can simulate the execution of our BPMN file with the Connector. This allows us to debug our process and Connector and ensure that they are functioning as expected before deploying them in our production environment.
Once we have tested and validated the Connector, we can confidently use it in our production workflows.
By customizing an existing Connector template to suit our needs, we can save time and effort in the development process and create more efficient and reliable workflows.
You want to see the full source code? Check the GitHub repository.


