Have you ever tried to create your own custom batch with Camunda BPM?
Well, I did, and it was very time consuming and quite complex. There isn’t really a public API for this purpose.
You have to work at the entity level and take care that batch configuration is saved to the ACT_GE_BYTEARRAY database table.
That’s why I’ve decided to create the Camunda BPM Custom Batch Extension.
The goal of this extension is to provide a simple way of using the Camunda Batch functionality for your own purposes.
If you have no clue what Camunda Batch is for, it can be used to split a huge workload (e.g., like reassigning all tasks) into small asynchronous jobs.
See the official Camunda docs for more details: Camunda Batch
So How Does the Extension Work?
The idea of the Camunda Batch is to separate the entire work called batch into smaller pieces called chunks.
First you have to define a job handler, which processes the batch chunks.
All the boilerplate work like creating batch jobs,
saving and reading batch configuration is done in the abstract class CustomBatchJobHandler, which is part of the extension.
A good starting point is to extend the CustomBatchJobHandler and override the following two methods:
public class PrintStringBatchJobHandler extends CustomBatchJobHandler<String> {

  @Override
  public void execute(List<String> jobData, CommandContext commandContext) {
      logger.info("Work on data: {}", jobData.get(0));
  }

  @Override
  public String getType() {
      return "print-string-batch-handler";
  }
}
Every job handler needs to provide a unique job handler type and the implementation itself.
In default configuration, the JobData parameter contains one object, the size is configurable.
getType() returns a job handler type which has to be unique for all job handlers.
execute(...) contains the business logic, which should be executed on the jobData.
To make the Camunda engine aware of this new job handler, it needs to be registered on startup of the engine.
The easiest is to use the CustomBatchHandlerPlugin which is a part of the extension.
If you just use camunda.cfg.xml / applicationContext.xml to configure your engine:
<property name="processEnginePlugins">
  <list>

    <bean class="org.camunda.bpm.extension.batch.plugin.CustomBatchHandlerPlugin">
      <constructor-arg>
        <bean class="org.camunda.bpm.extension.batch.example.simple.PrintStringBatchJobHandler"/>
      </constructor-arg>
    </bean>

  </list>
</property>
Or with Spring Boot, it can easily be done like this:
@Bean
public ProcessEnginePlugin customBatchHandlerPlugin(PrintStringBatchJobHandler printStringBatchJobHandler) {
  return CustomBatchHandlerPlugin.of(Collections.singletonList(printStringBatchJobHandler));
}
Now you are almost done. Last but not least, you need to create the batch job itself. This has to be done whenever you have some data to be processed.
Using the default configuration it looks like this:
CustomBatchBuilder.of(data) #List of Objects which should be processed
    .jobHandler(printStringBatchJobHandler)
    .create();
When calling create(), the batch will be inserted as a Camunda job and the job executor will pick it up and execute it during its next run.
As you can see, not much work is needed to get a running batch.
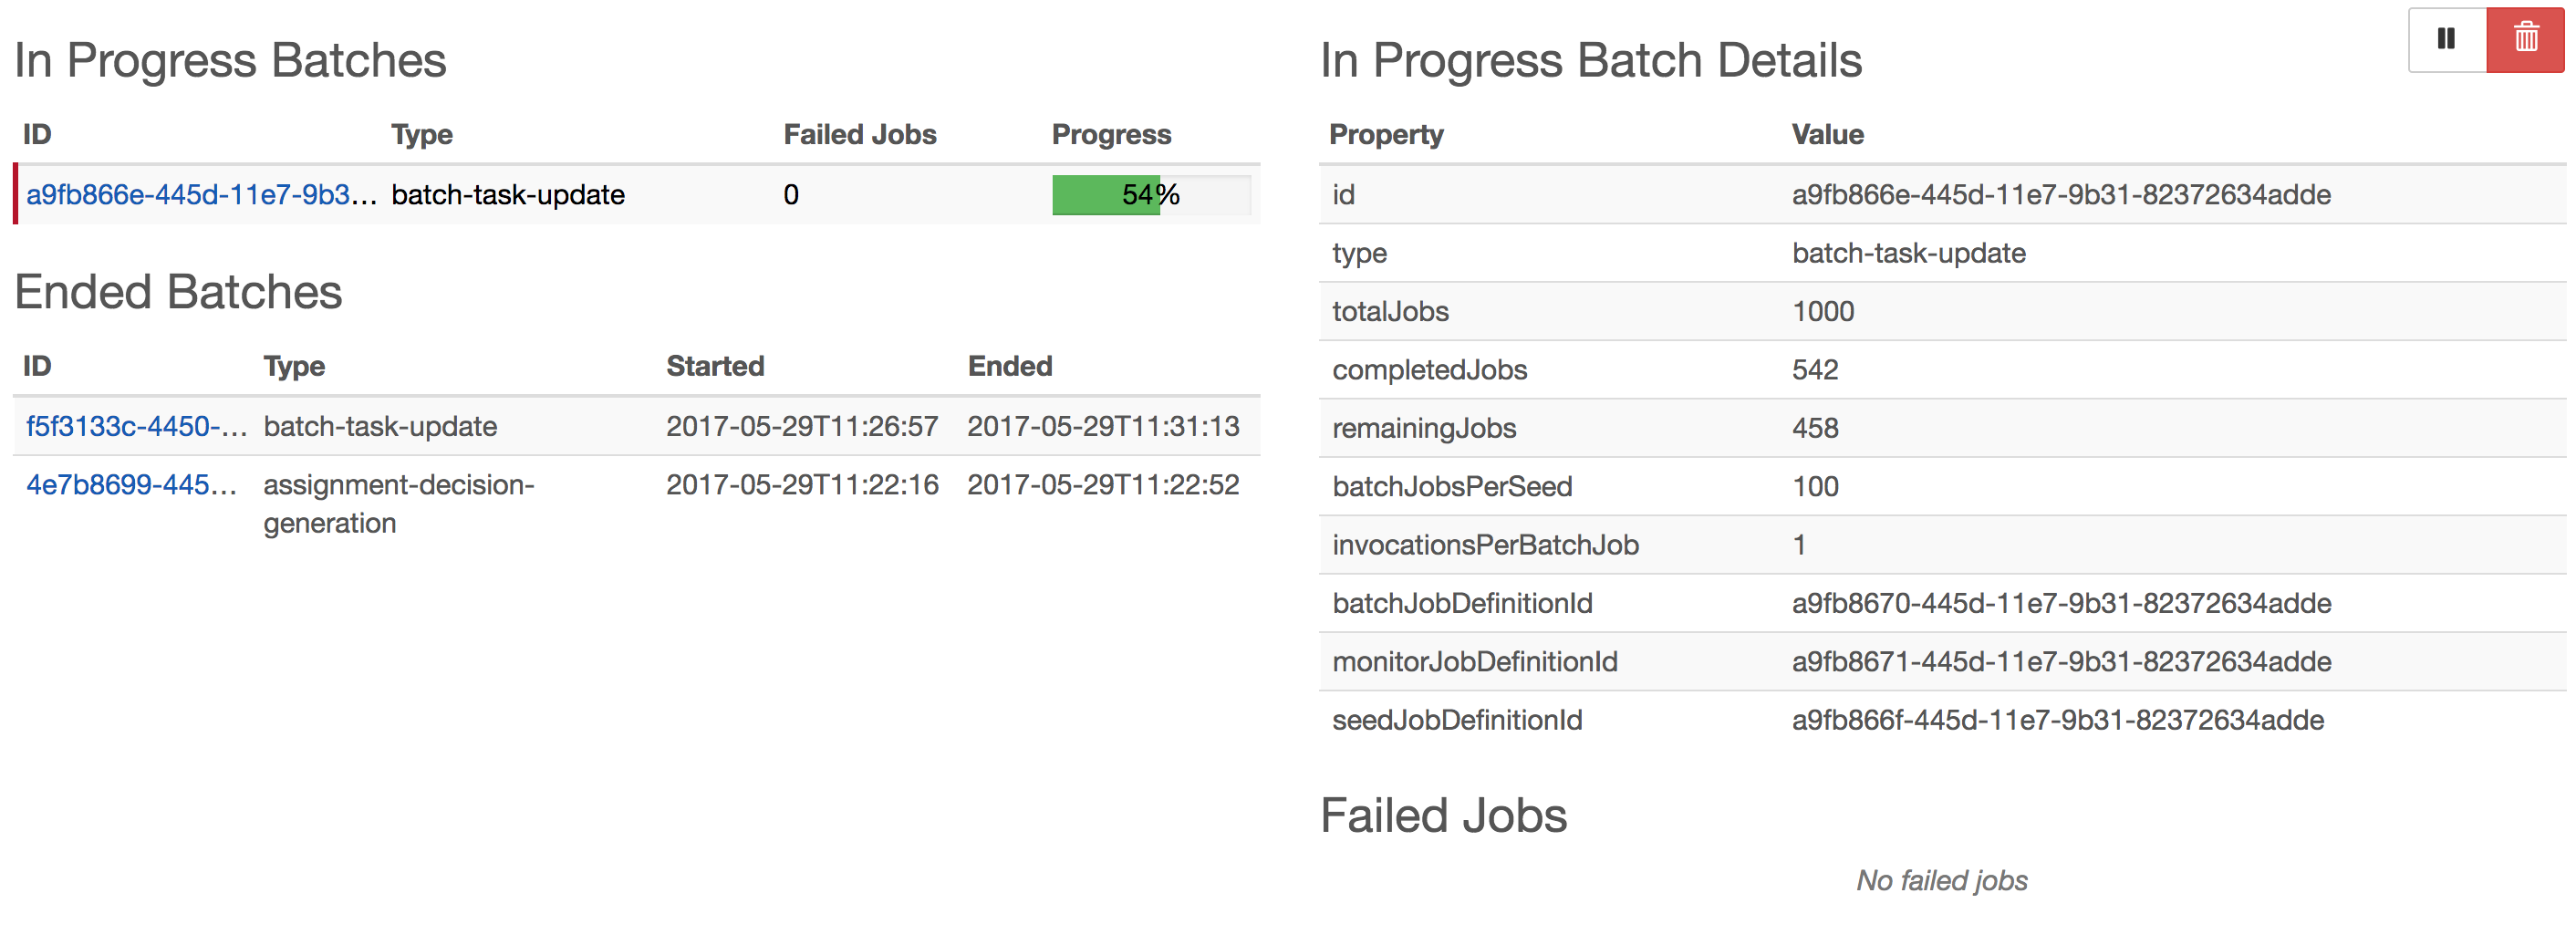
The batch will also be visible for monitoring in the batch overview section of Camunda Cockpit, where you can also stop the execution (Enterprise Feature!).

What Comes Next?
There are a lot of ideas which are planned for the next versions:
- Provide possibility for usage of a data collector class
- Provide a timer job for automated triggering of batch creation
- Provide a service bean for creation of the batch (in addition to the builder)
- Provide helper utils to simplify testing
- And many more…
Last but Not Least
If you have any questions or ideas, feel free to contact me, or much better, start contributing to the extension. 🙂
Special thanks to Kühne + Nagel for sponsoring the extension!
This is a guest post by Patrick Schalk (Consultant @ Holisticon AG).

