This blog entry describes how we document and test widgets and make sure that tests and documentation stay in sync.
Tests
With E2E tests we specify and test the desired behavior of the widgets. For our angular widgets, we use Protractor. E2E tests interact with a webpage, e.g. by clicking on links and buttons or typing text. This simulates the user behavior. To run these tests, we have to create the webpages the tests use. These webpages display the widget in the environment we want to test.
Documentation
For the documentation, we describe the interface of the widget and show scenarios where this widget can be used. We also include code samples. This allows developers to copy the code into their application and get an instance of the widget. We also have to create a webpage for this documentation.
Bringing Both Together
Creating separate webpages for documentation and tests creates some problems: When we change the interface or implementation of a widget, we have to adapt both pages. There is a much higher risk of inconsistency between tests and documentation. Therefore documentation and tests should be close together.
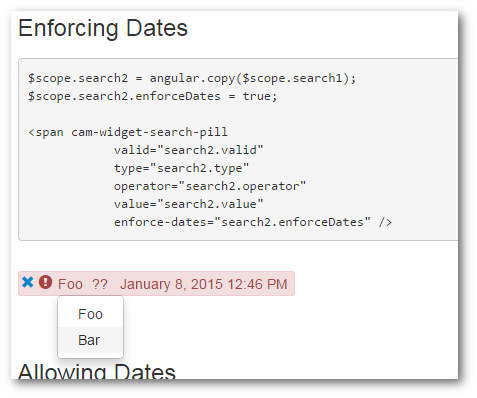
To solve this problem, we create a single webpage, which serves as documentation page, but is also used for automated testing. This page contains three parts:
- Interface description: Very useful for the developers, but ignored by Protractor
- Example codes: Also useful for the developers, ignored by Protractor
- Functional Sample Widgets: Useful for the developers. They can play around with the widget before using it in the app. This is also the part where Protractor performs its tests.

Try It Out!
- Check out the camunda-commons-ui project
- To execute the tests:
- In the root directory, execute grunt
- To access the documentation:
- In the root directory, execute grunt connect:widgetTests:keepalive
- Navigate to the .spec.html file of the widget (e.g. https://localhost:8070/lib/widgets/search-pill/test/search-pill.spec.html)
