In today’s fast-paced development environment, process orchestration is a powerful tool that can streamline workflows, enhance automation, and ensure robust task management. For NodeJS developers, integrating process orchestration into applications can significantly improve efficiency and scalability.
Camunda, with its comprehensive NodeJS SDK, provides an excellent framework for implementing process orchestration, enabling developers to build complex, automated workflows with ease. This example uses a Slackbot as a way to demonstrate parts of the NodeJS SDK.
Setting up the process

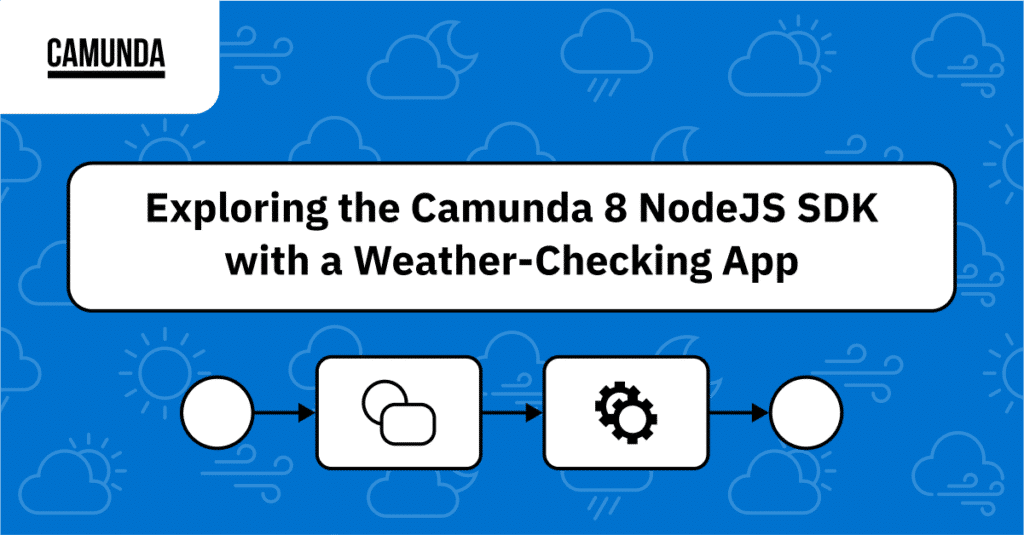
The Slackbot’s primary function is to check the weather for a given city. This simple process takes a city as a string, calls the WeatherBit Weather API with that specific city using the REST Connector, and then returns the weather information as variables back to the Slackbot via a service task.
This Slackbot has three commands: /weather, /export, and /label. Let’s look at each command in detail, and how the NodeJS SDK is being used. Feel free to copy and paste these code snippets into your own code to see how these functions work!
The weather command using the Operate and Zeebe APIs
The /weather command uses the process laid out above to check the weather, using the Zeebe and Operate API clients.
To get this up and running, first create a new Camunda 8 instance under the /weather command in your index.js file, ensuring you have Zeebe and Operate as variables ready to be used.
const camunda = new Camunda8();
const zeebe = camunda.getZeebeGrpcApiClient();
const operate = camunda.getOperateApiClient();
After creating these variables, deploy the simple weather-checking process using the deployResource method, shown in this code snippet below:
async function deployProcess() {
           deploy = await zeebe.deployResource({
               processFilename: path.join(process.cwd(), "weather-checker.bpmn"),
           });
           console.log(
               `[Zeebe] Deployed process ${deploy.deployments[0].process.bpmnProcessId}`
           );
       }
You also need to create the process instance using the deployed model in a main function, which will be used later on. This main function will live inside the /weather command code:
async function main() {
           //Create a process instance with the deployed model above
           const p = await zeebe.createProcessInstanceWithResult({
               bpmnProcessId: `node-slackbot`,
               variables: {
                   city: city,
               },
           });
           console.log(`[Zeebe] Finished Process Instance ${p.processInstanceKey}.`);
           console.log(`[Zeebe] serviceTaskOutcome is ${p.variables.serviceTaskOutcome}`);
This code snippet also logs the state of the process instance after it has been created in the console.
As the process is running, you will receive weather data from the createWorker method in our node code. This method searches for a service task labeled service-task in your process and executes a task outlined in your process. In this case, it sends the temperature to Slack:
zeebe.createWorker({
            taskType: "service-task",
            taskHandler: (job) => {
                console.log(`[Zeebe Worker] handling job of type ${job.type}`);

                const { temperature: temp, feels_like: feelsLike, city: city } = job.variables;

                if (job.variables.city == null || job.variables.city == '') {
                    say(city + " is not a valid city")
                } else {
                    say("The temperature in " + city + " is currently " + temp + " degrees. It feels like " + feelsLike + " degrees outside.");
                }
                return job.complete({
                    serviceTaskOutcome: "Weather returned!",
                });
Next, inside your main function, use the Operate API to get the state of the process using the process instance key. Call getProcessInstance to check the state, which should be COMPLETED, as you have output the weather to Slack and finished the process. If completed, log the variables from the process to the console.
const historicalProcessInstance = await operate.getProcessInstance(p.processInstanceKey);
                console.log("[Operate] state", historicalProcessInstance.state);
                // Print out variables for completed process
                if (historicalProcessInstance.state == 'COMPLETED') {
                    const variables = await operate.getJSONVariablesforProcess(historicalProcessInstance.key);
                    console.log('\n[Operate] Variables:', JSON.stringify(variables, null, 2));
                }
Lastly, make sure to call the created functions above at the bottom of your /weather command code, which deploys the process and runs through the main function.
The export command using the Optimize API
The /export command utilizes the Optimize API’s exportDashboardDefinitions and exportReportDefinitions methods.
Inside the main function in your /export command code, check the readiness of Optimize with the getReadiness command and enable dashboard sharing with the enableSharing command.
const ready = await optimize.getReadiness();
console.log('[Optimize] Ready!', ready);
await optimize.enableSharing();
console.log("[Optimize] Sharing enabled");
When this code is run, the ready state of Optimize, as well as a log stating sharing has been enabled will be output to the console.
The Slack command has two options: you can either export a [dashboard] or [report]. Both options require the ID of the said dashboard or report. Depending on the choice, you can use either the exportReportDefinitions or exportDashboardDefinitions method in your main method and then send the response as a file to Slack.
if (exportType == "dashboard") {
	exportDefs = await optimize.exportDashboardDefinitions([id]);
} else if (exportType == "report") {
	exportDefs = await optimize.exportReportDefinitions([id]);
}
Similar to your /weather command, you need to run the main function at the end of the command in your code.
The label command using the Optimize API
The /label command uses the labelVariables method from the Optimize API. This Slack command has three parameters:
variable. The name of the variable in OptimizevariableType. The type of the variablelabel. The label you want to use for this variable in the Optimize dashboard
In your main method underneath the /label command, split the command output into three variables—variable, variableType, and label—using the labelVariables method to relabel a specific variable.
const variableLabels = {
	"definitionKey": "node-slackbot-demo",
	"labels": [
		{
			"variableName" : variable,
			"variableType" : variableType,
			"variableLabel": label
		}
	]
};
This code will not output anything to the console but will update the relabeled variable in your Optimize dashboard.
Conclusion
If you are interested in trying the example for yourself, the code and instructions for setting it up are available on GitHub. This can help demonstrate the flexibility and power of Camunda’s NodeJS SDK and how you manage processes within your NodeJS applications.
If you’d like to walk through this tutorial in a video format, you can follow along on YouTube or simply press Play on the video below.
Additionally, be sure to check out our comprehensive Node documentation and setup guide to get started with your own projects.
Happy coding!


Start the discussion at forum.camunda.io