In this post I’m going to explain in detail how you can deploy Camunda BPM to a server using docker and Amazon Web Services (AWS) and interestingly enough – it doesn’t require so much as a glance at a console cursor.
To achieve this we’re going to be using two Amazon services:
- RDS – to setup the process engine’s database
- EC2 Container Service – as a container for the deployment.
Note: you’ll need to sign up for an AWS account to follow this post, you can do that here
Creating a Database
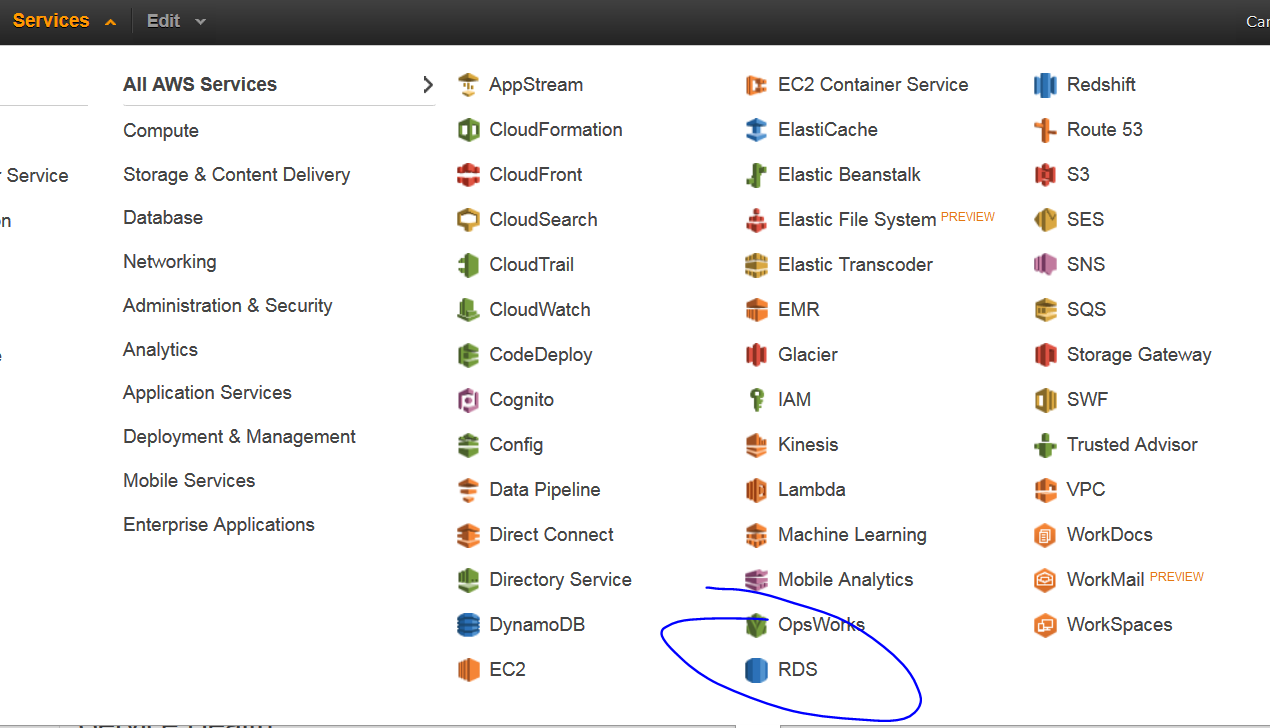
Now you just need to click the “Launch a DB Instance” button to start the wizard.
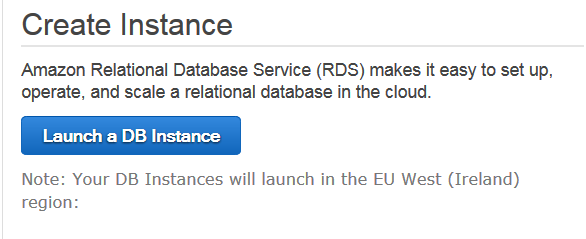
For this instance we would suggest creating a PostgreSQL database. This was decided after a short debate with my colleagues, in which it was agreed (unanimously I might add) that elephants are better than dolphins.
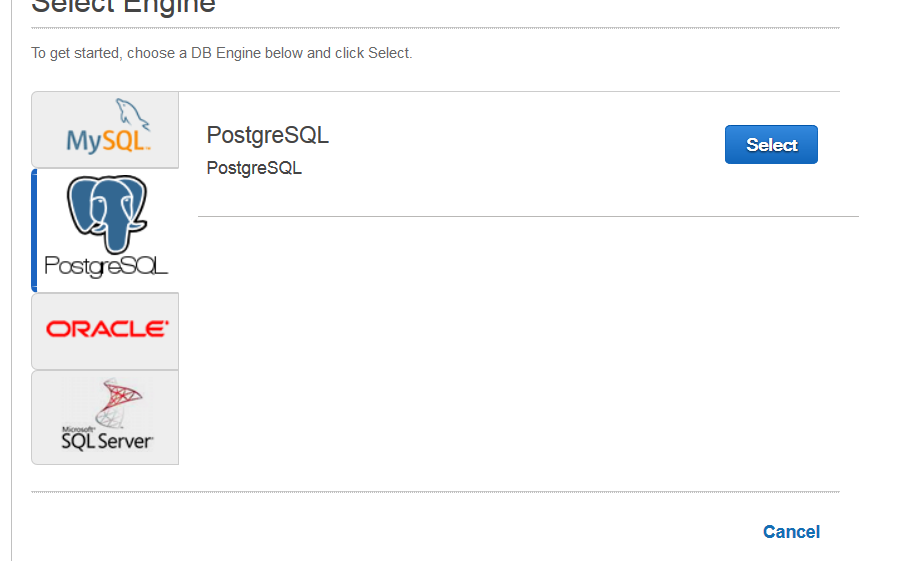
We’re not planning on doing too much production with this database so on the next screen select No.
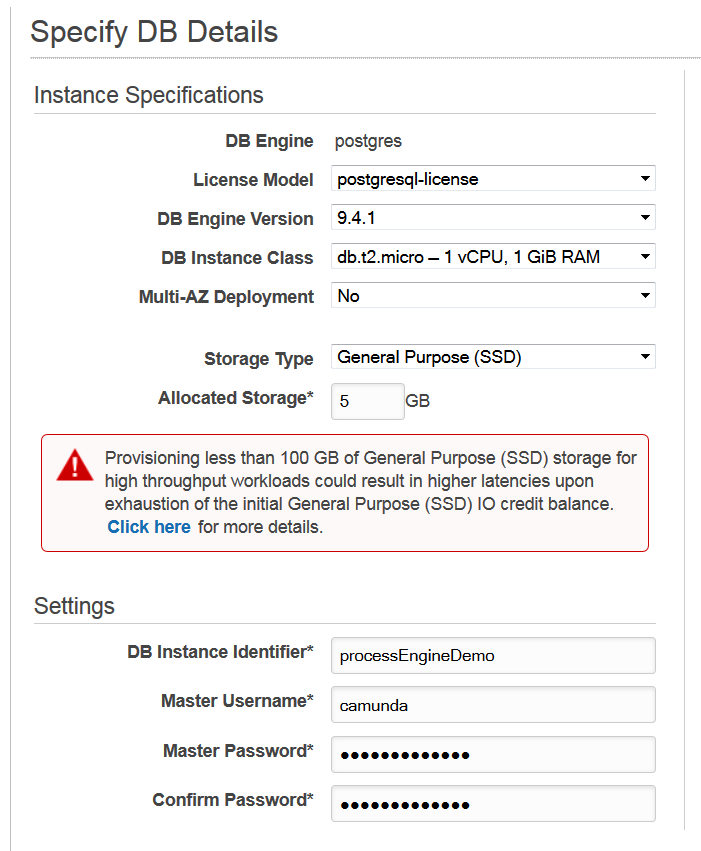
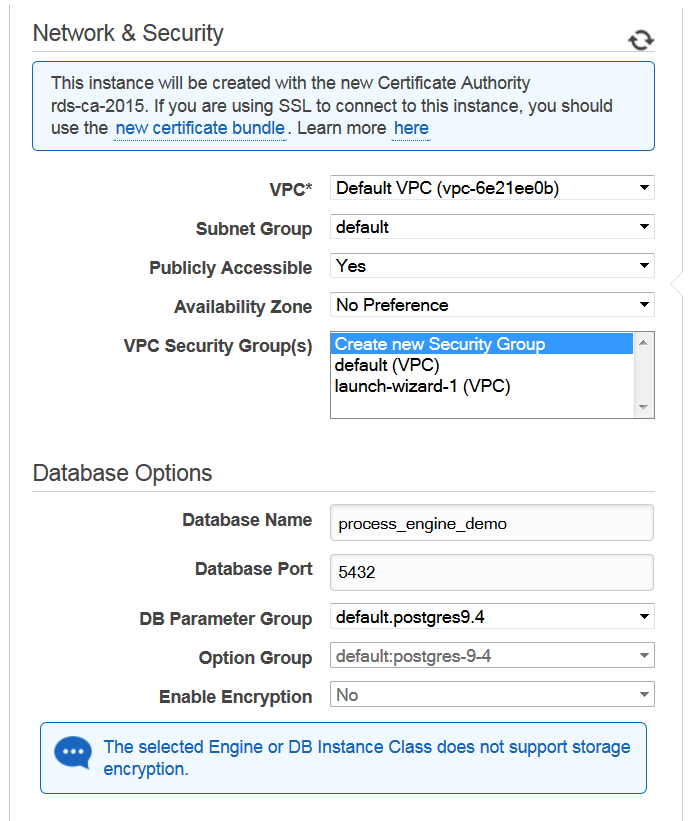
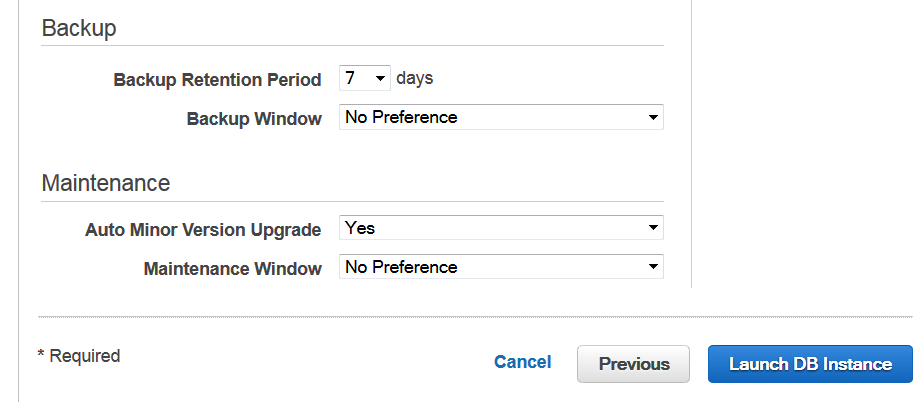
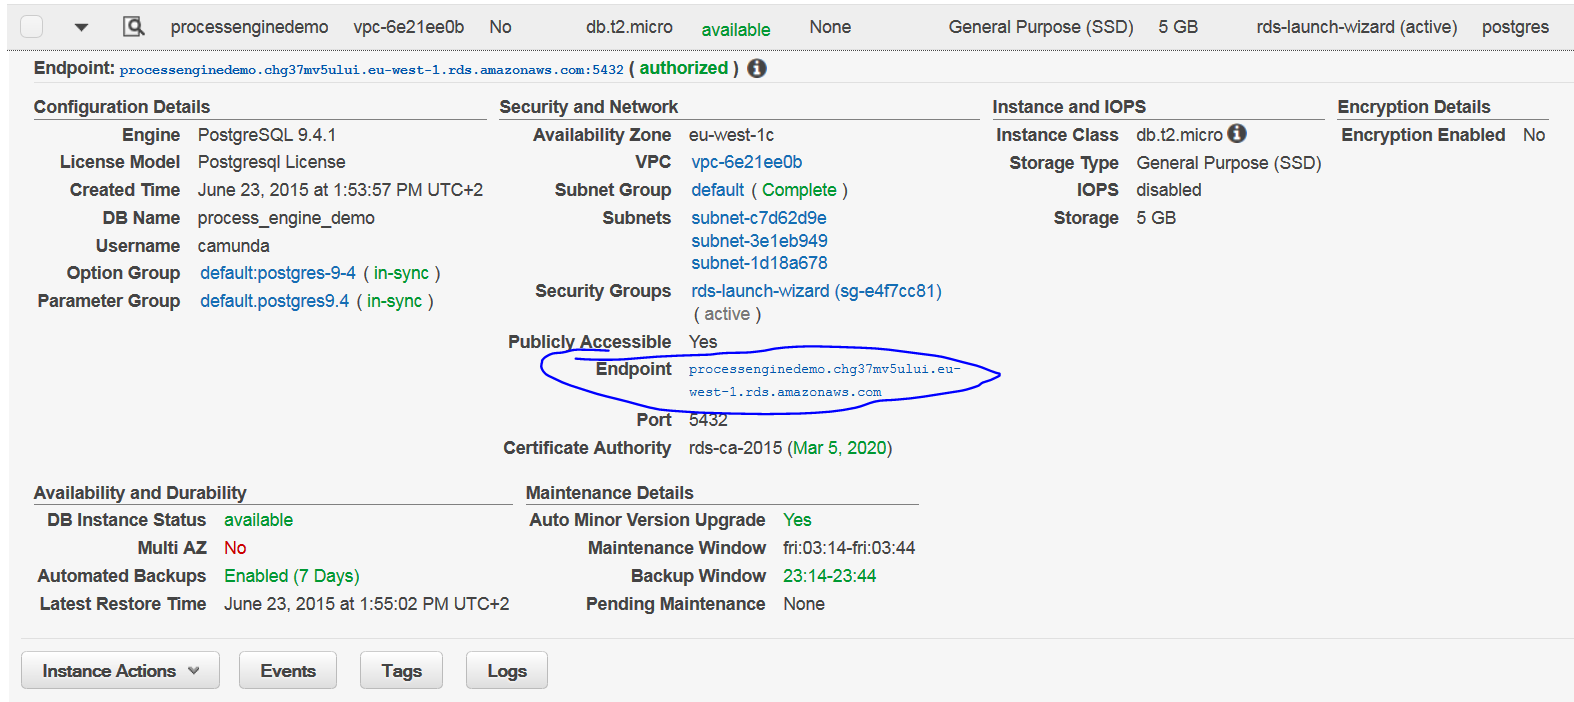
Our sharper-eyed readers will have noticed that I circled the Endpoint url for the database. Which in my case is “processenginedemo.chg37mv5ului.eu-west-1.rds.amazonaws.com”.You should memorize it (or copy it) as you’re going to need that later on when setting up the EC2 Container.
Creating an EC2 Container
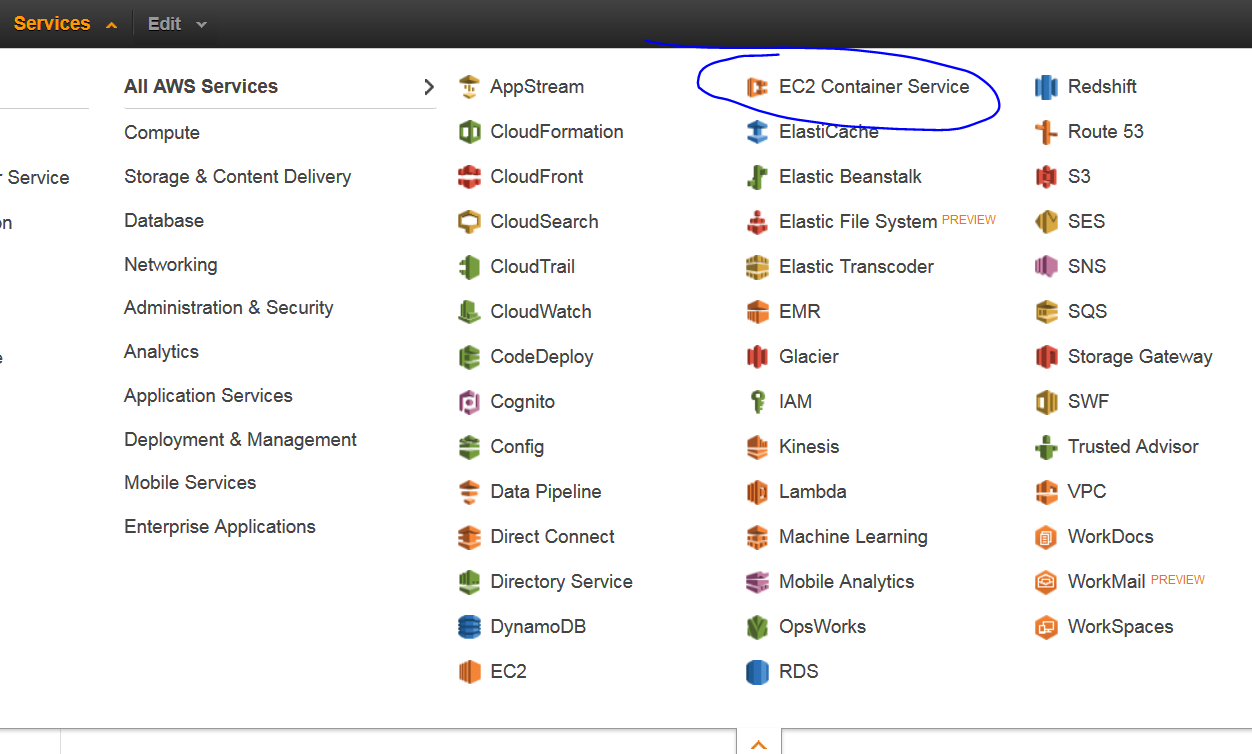
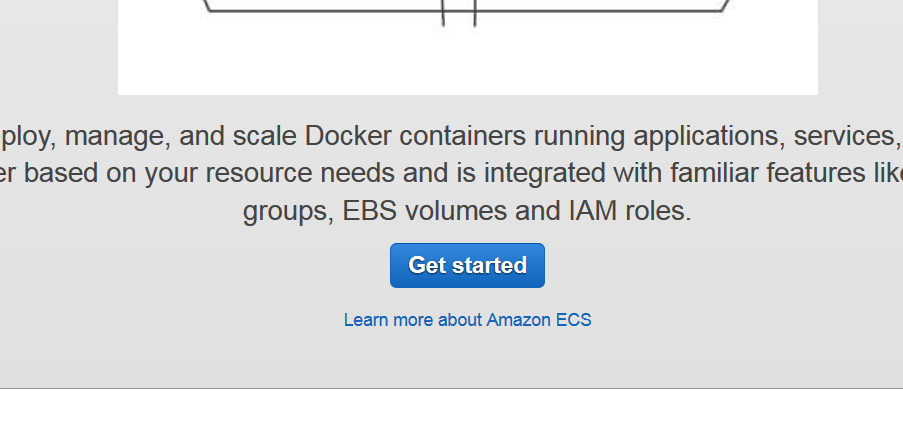
We’re going to be creating our own custom definition, so select accordingly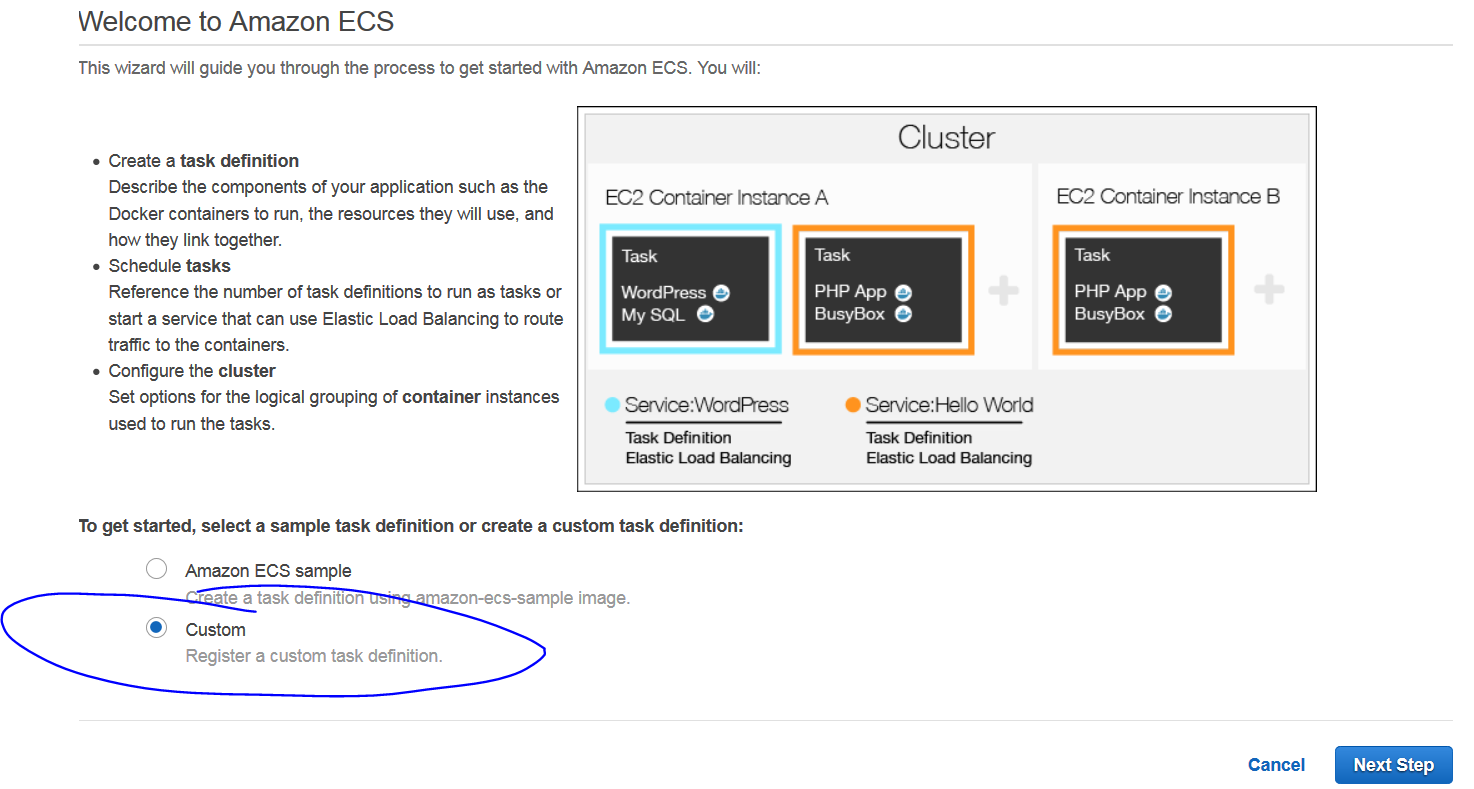
The next step of the wizard is where the task definition is named, memory is allocated and parameters are created. To make that whole process both faster and easier you can click on the JSON tab and simply paste this JSON text which I’ve created with my own fair hands.
{
  "family": "Camunda",
  "containerDefinitions": [
    {
      "name": "camunda_bpm_platform",
      "image": "camunda/camunda-bpm-platform",
      "cpu": "800",
      "memory": "500",
      "entryPoint": [],
      "environment": [
        {
          "name": "DB_DRIVER",
          "value": "org.postgresql.Driver"
        },
        {
          "name": "DB_USERNAME",
          "value": "camunda"
        },
        {
          "name": "DB_PASSWORD",
          "value": "nobullshitbpm"
        },
        {
          "name": "DB_URL",
          "value": "jdbc:postgresql://processenginedemo.chg37mv5ului.eu-west-1.rds.amazonaws.com"
        }
      ],
      "command": [],
      "portMappings": [
        {
          "hostPort": "80",
          "containerPort": "8080"
        }
      ],
      "volumesFrom": [],
      "links": [],
      "mountPoints": [],
      "essential": true
    }
  ],
  "volumes": []
}
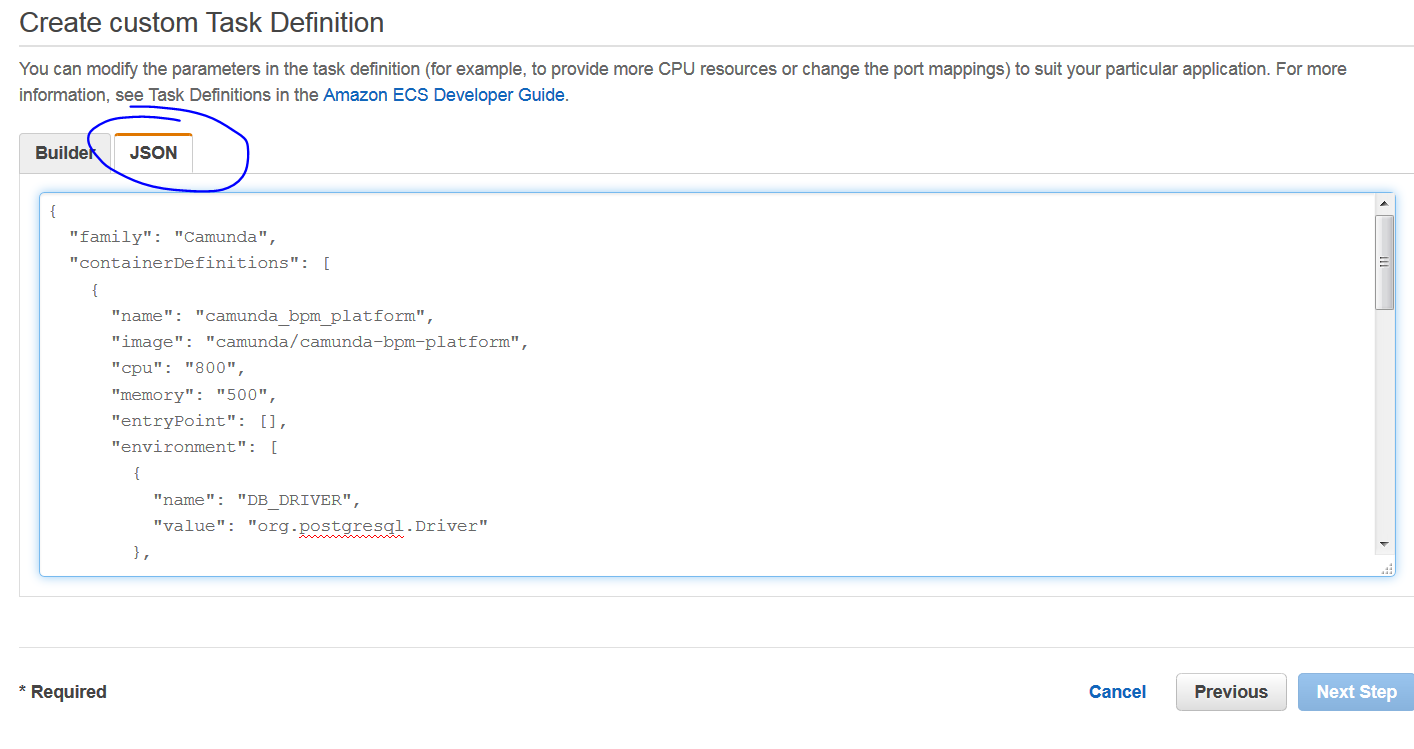
When you click back to the “Build” tab, you will see an entry called “camunda_bpm_platform” in the container definitions. The fun hasn’t ended yet – click on the definition because you still need to change one of the variables. Remember the database link that I told you to memorize? Well you’re going use it to create the DB_URL variable.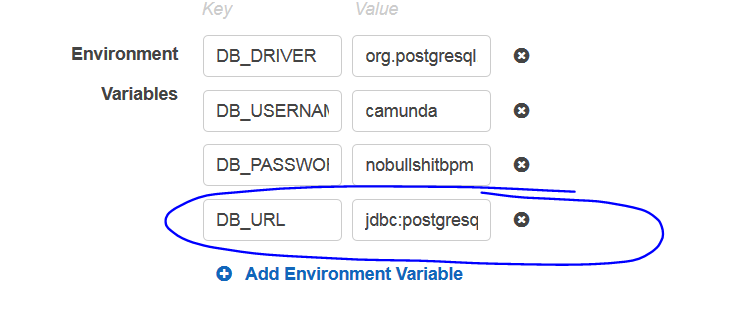
In the annoying tiny text field circled above add “jdbc:postgresql://” followed by the link to your database. Once you’ve done that – click update and move onto the next step.
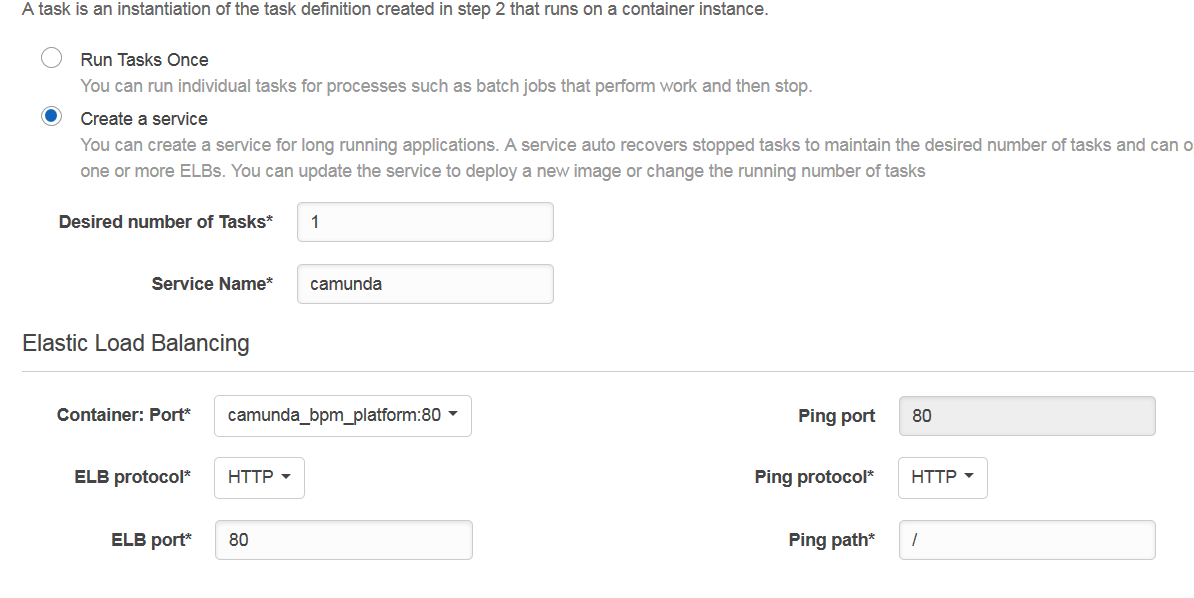
While on the next step, if someone happens to ask you what you’re doing, you can tell them “I’m defining a service, giving it a name and setting up elastic load balancing”. It sounds a lot better than the reality, which is that you’re just copying from the screen shot below:
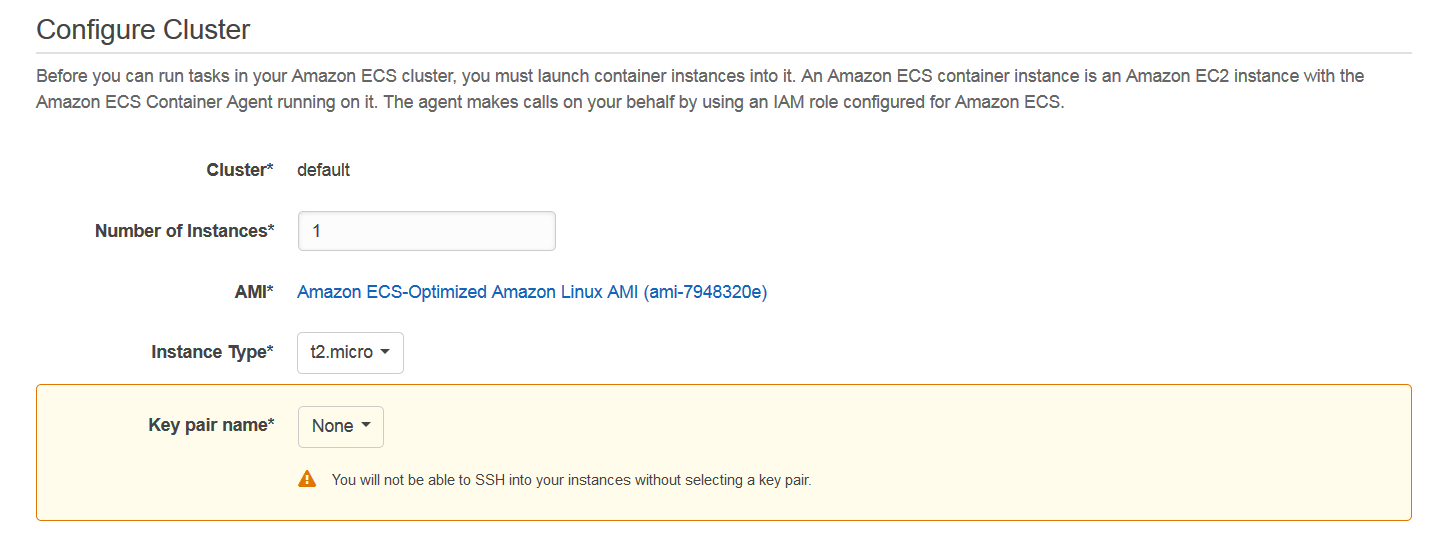
The final part of the setup is configuring the cluster and sorting out security groups. The top half of the step deals with the latter. You can see the settings in the screenshot below:
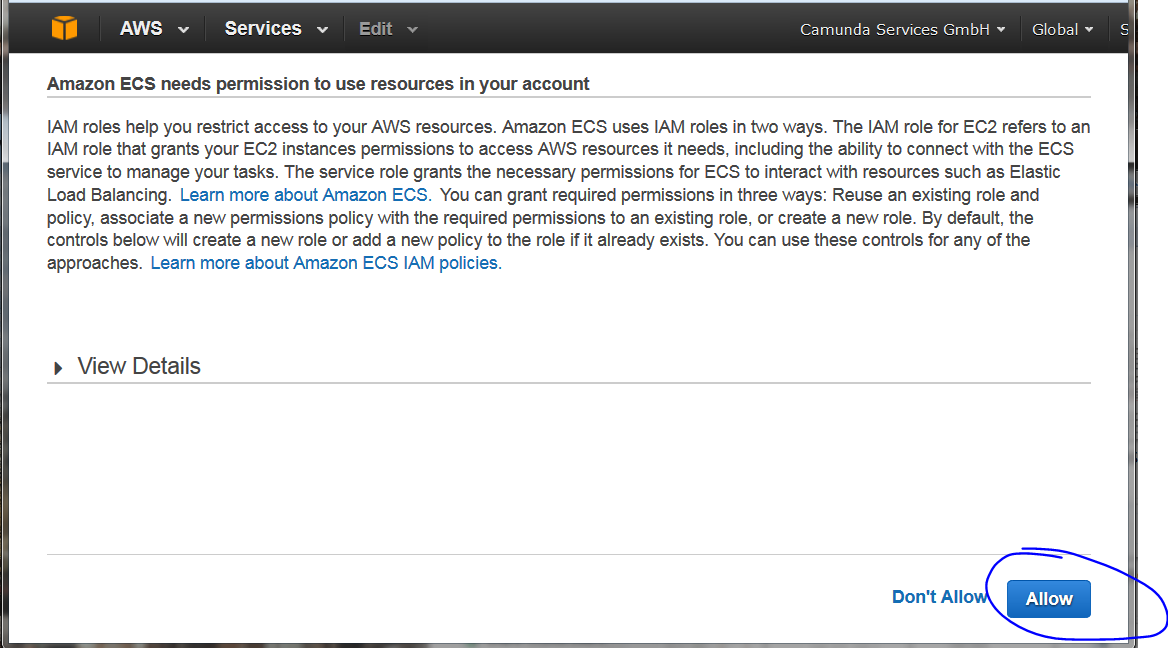
In the IAM Role information sections you’ll need to create an ECS instance role and an ECS service role. This is actually a really straightforward process, click on the button circled below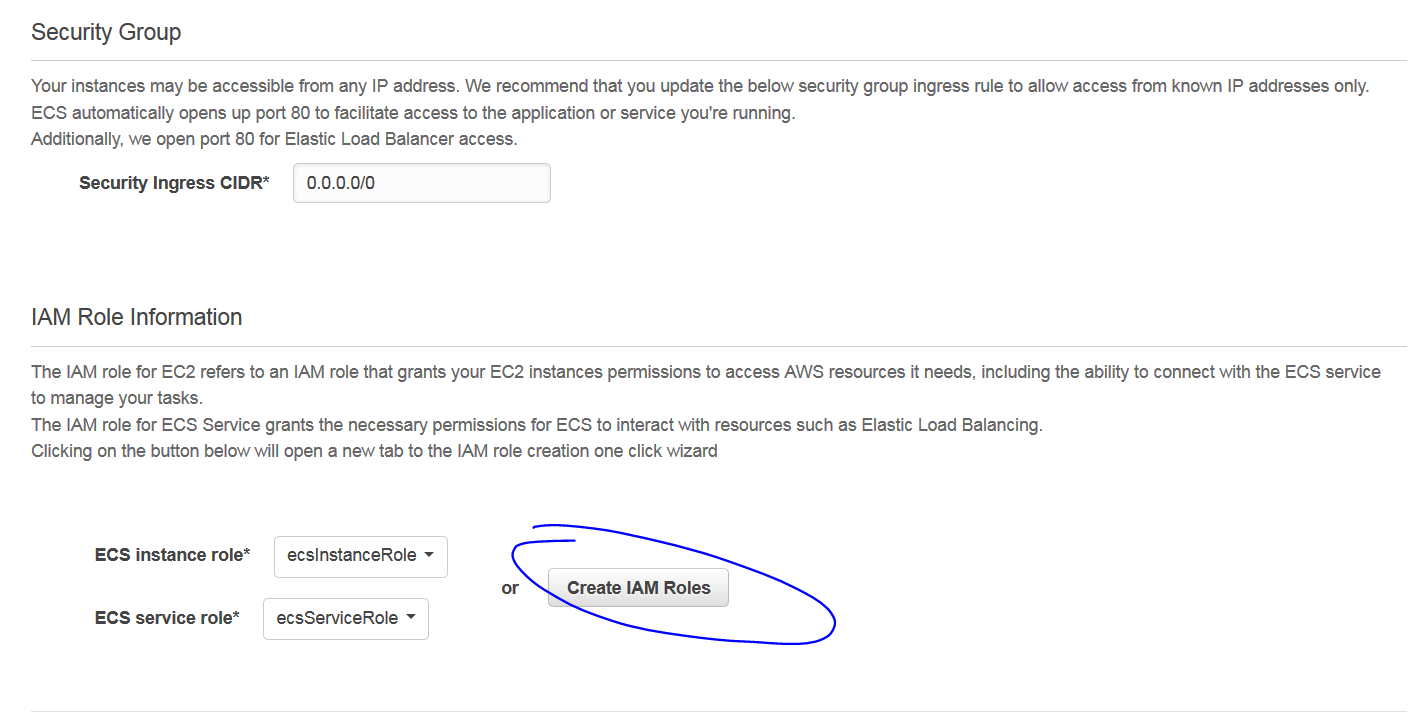
which will bring you to the following page – you don’t need to do anything more than simply clicking “Allow”. Then you can return to the IAM Role information page and you’ll able to select the two roles from the drop down menu.
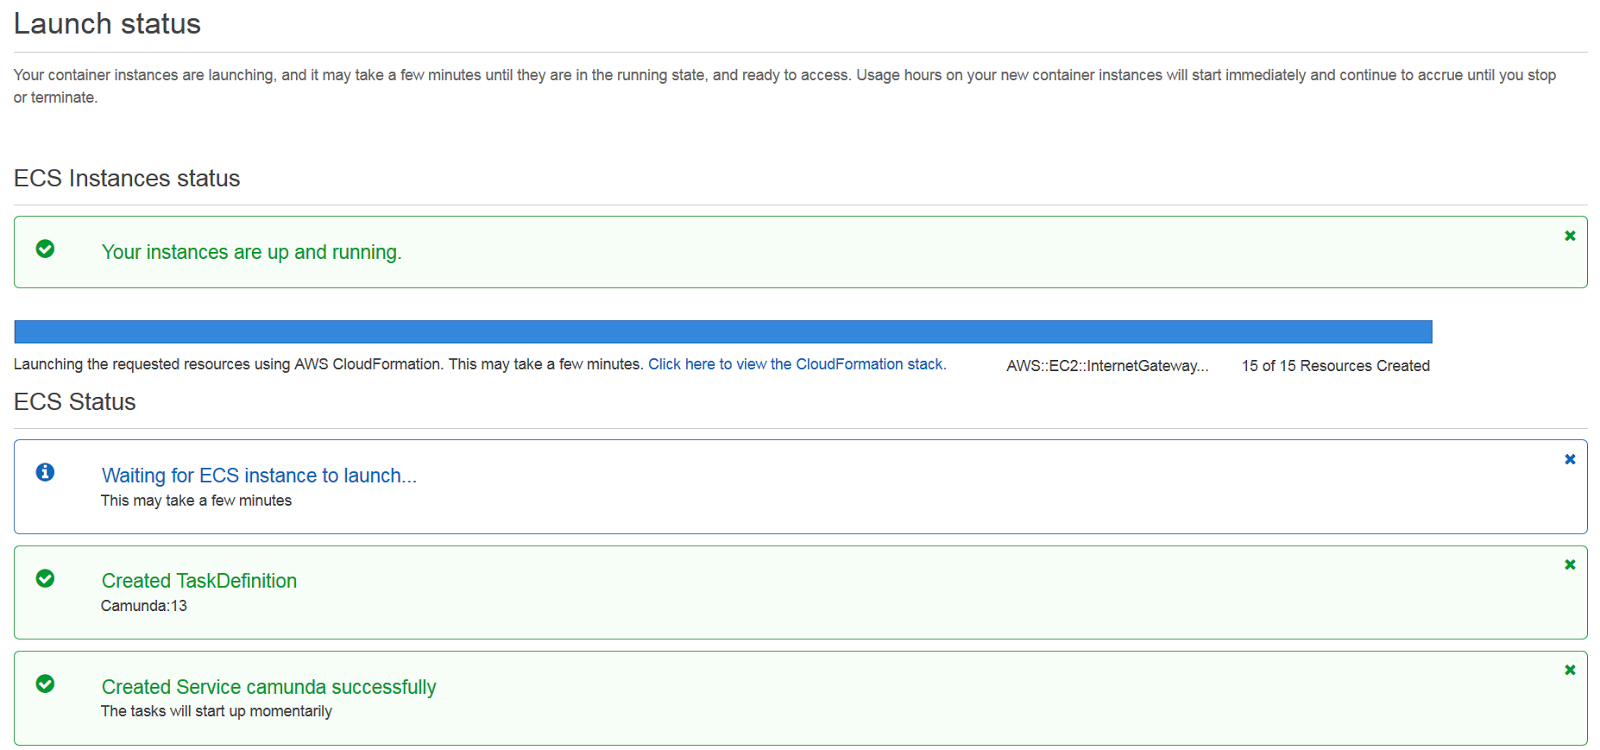
When it eventually finishes you can go back to the EC2 container service though the services menu and instead of being greeted by a creation wizard, you’ll in fact see your newly setup cluster, lazily named “default”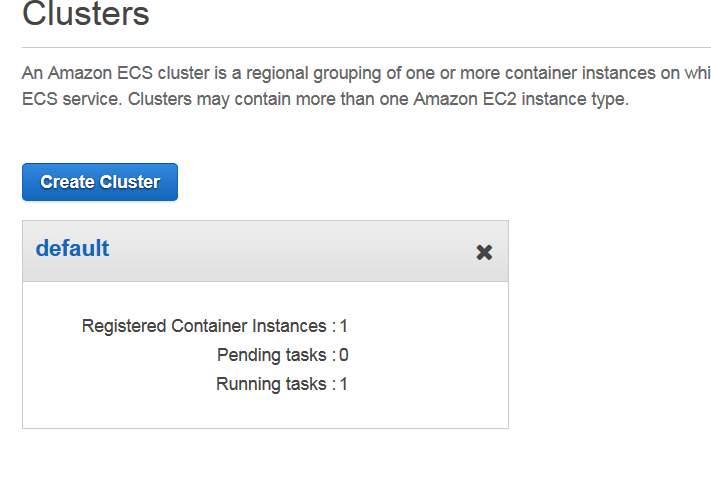
Click on the cluster’s name to have a look at what’s going on inside, you’ll see a task running in the Tasks tab. If you don’t see the task up and running – have no fear, it might take a minute or two. Meanwhile in the ECS Instance tab you’ll see the container instance.
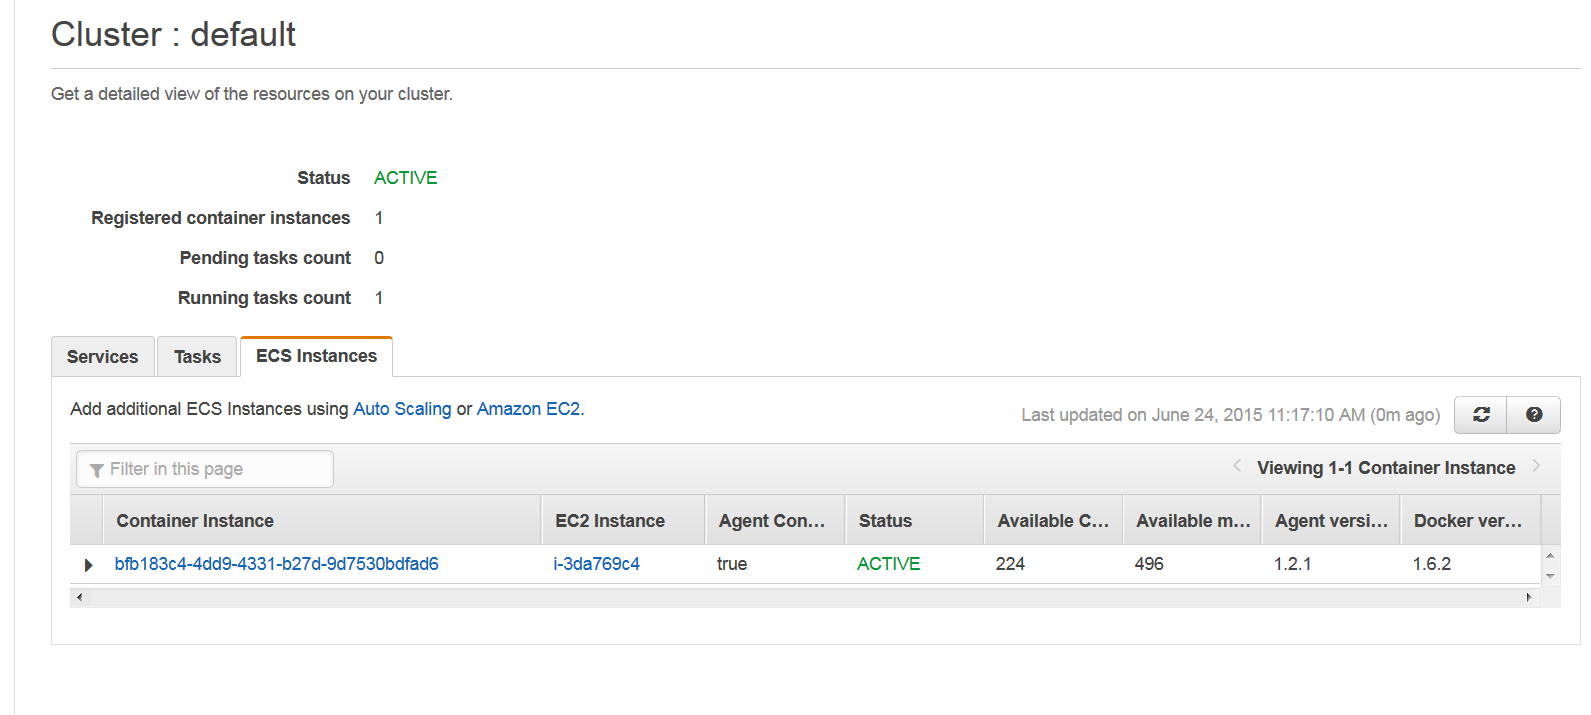
Clicking on the name of the instance will bring you to a page displaying more details about the container including the public DNS.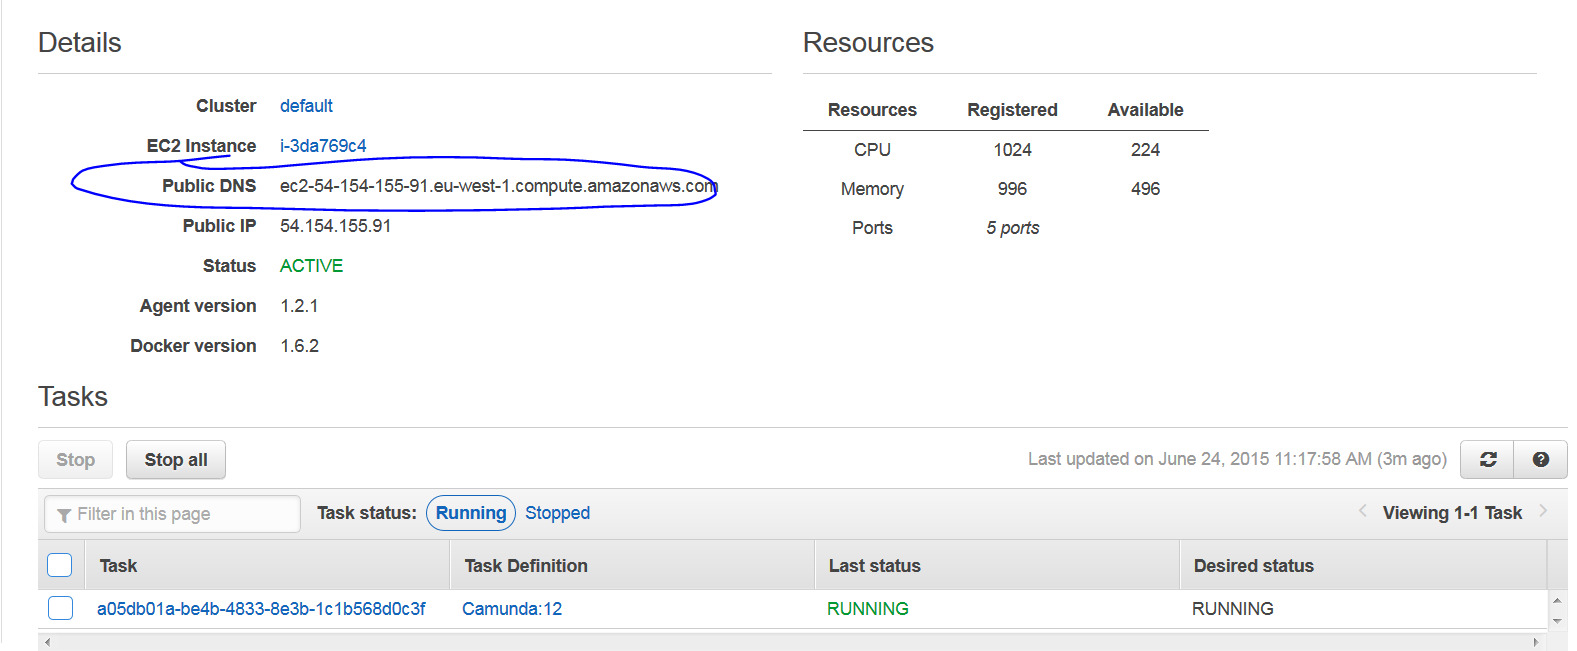
Following that link in your browser will bring you to an apache tomcat page and adding “/camunda”
to the end of the link will bring to what we’ve all been waiting for – the Camunda BPM platform!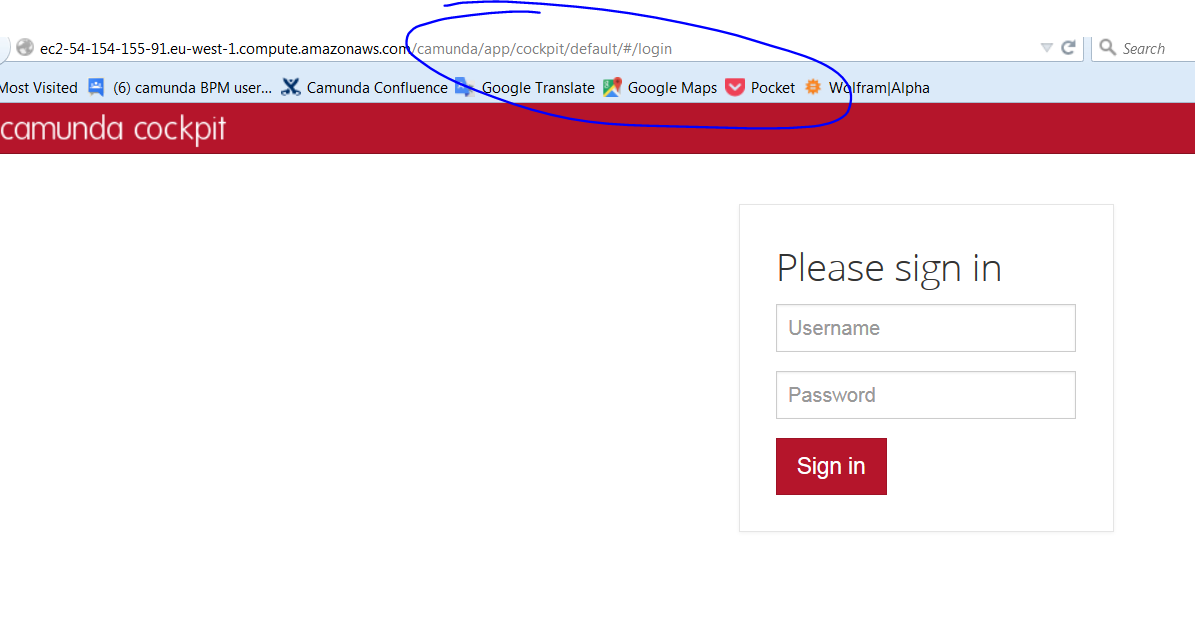
Now you can relax and enjoy playing with skillfully-automated processes all thanks to me (and to a lesser extent AWS)!

Camunda Developer Community
Join Camunda’s global community of developers sharing code, advice, and meaningful experiences

