“Camunda 8 is too complicated to install! With Camunda 7 you could just add a dependency!” I hear these remarks all the time. The thing is: creating a cloud native platform that provides scaling and resiliency requires more than just a single executable.
Where do you start if you don’t know Kubernetes or Docker? How do you wade through the settings for each service? Kubernetes seems intimidating, especially if you have limited experience with containers.
It can feel overwhelming at first, but the truth is that it is surprisingly simple to get started with Camunda 8 and Kubernetes on your local machine. Let’s do just that!
In this article, we will install a handful of tools that facilitate local Kubernetes development (kind, kubectl, helm, and k9s), then use those tools to run Camunda Self-Managed.
(Before we begin, a very basic understanding of containers and Kubernetes is useful, but not required. To learn more about containers, I recommend starting with this article which provides a great introduction to containers. To learn more about Kubernetes, my favorite place to start is The Illustrated Children’s Guide to Kubernetes!)
Getting ready to install Camunda
Before we talk about configuring Camunda Self-Managed, there are some software packages that need to be installed first. The goal of this article is to have a simple self-managed instance running locally on your workstation. There are many different ways to accomplish this. No matter how you do it you need to have a software package installed on your workstation that allows you to run Kubernetes.
Popular options include minikube, OpenShift Local (formerly called “Code Ready Containers”), minishift, and kind. For this article, we will be using kind. kind was built for local development and testing, making it perfect for this guide. If you use a package other than kind, I’d love to hear about your experience on our forums!
But first, you need to install Docker! If you don’t have Docker installed ready, head over to docker.com and install Docker on your workstation. Depending on your workstation’s hardware, you may need to make some small adjustments to how it is configured but I’d suggest starting with the default options. Why do we need to install Docker first? Because kind uses Docker to run the containers! Other packages are compatible with other container runtimes; for instance, minikube is compatible with QEMU, VirtualBox, VMWare, and more.
Once Docker is installed, you need to install kind along with three other packages. There are different ways to install these packages depending on your operating system and package managers. Follow the links to the installation guides for each package:
kind: Installation guide.kindis a local development environment for Kubernetes. You can think of it as the “infrastructure” that we will be running our containers on top of.kubectl: Installation guide.kubectlis a command line tool that allows you to run commands against your Kubernetes cluster.helm: Installation guide. Helm is a package manager for Kubernetes, similar to what npm is to NodeJS. Camunda uses Helm Charts to manage the configuration of each container/service.k9s: Installation guide.k9sis an optional tool, but is very handy for working with local Kubernetes clusters.k9sprovides a simple terminal-based UI for managing your Kubernetes clusters and containers. Everything thatk9sdoes can be done withkubectl.
Configuring Camunda Self-Managed
While there are other ways to deploy Camunda Self-Managed, we recommend using our Helm charts. Helm charts provide a single place to configure every aspect of your deployment: what services you want to install and how those services are configured.
There are many different ways to configure these services:
- With or without SSL/TLS;
- With an ingress controller or using port forwarding;
- Connecting to an existing Elasticsearch or Keycloak instance or using a new one;
- Using an existing Postgres database or using a new one;
- With or without multi-tenancy;
- … And much more!
Helm charts accept a values file, in YAML format just like the charts themselves, which allows users to configure the services. Not every value can be overridden: it depends on how the original charts were built. This guide is not going to go through every possible option (all of which are well documented in our Helm chart repository on GitHub), but as you can see, Camunda offers a lot of configuration possibilities!
Instead, let’s review a bare minimum configuration and explain what is happening behind the scenes. Even though this is a bare minimum configuration, there’s a lot here. Read through the settings first, but don’t worry – we will review each setting next!
global:
  identity:
    auth:
      # Disable Identity authentication for local development
      # it will fall back to basic-auth: demo/demo as default user
      enabled: false

# Disable Identity for local development
identity:
  enabled: false

# Disable Optimize
optimize:
  enabled: false

# Reduce resource usage for Zeebe and Zeebe-Gateway
zeebe:
  clusterSize: 1
  partitionCount: 1
  replicationFactor: 1
  pvcSize: 10Gi
  resources: {}
  initResources: {}

zeebe-gateway:
  replicas: 1

# Enable Outbound Connectors only
connectors:
  enabled: true
  inbound:
    mode: "disabled"

# Configure Elasticsearch to make it running for local development
elasticsearch:
  resources: {}
  initResources: {}
  replicas: 1
  minimumMasterNodes: 1
  # Allow no backup for single node setups
  clusterHealthCheckParams: "wait_for_status=yellow&timeout=1s"

  # Request smaller persistent volumes.
  volumeClaimTemplate:
    accessModes: [ "ReadWriteOnce" ]
    storageClassName: "standard"
    resources:
      requests:
        storage: 15Gi
Let’s take a look at each setting being used in this configuration file:
SettingDescriptionglobal.identity.auth.enabledby setting this to false, we are configuring every service to use basic authentication rather than trying to connect an Identity instance. As is suggested by the name, this is a global setting that applies to all services.identity.enabledat first, this setting may look similar to the previous one; however, instead of defining how the services should authenticate, it tells Helm to not create an instance of Identity. Because we are keeping this configuration as simple as possible and we only need basic authentication, we don’t need to use any resources running an instance of Identity that we will never use!optimize.enabledfor this bare minimum configuration we will not be installing Optimize. Exactly like the identity.enabled setting, this tells Helm to not install the Optimize instance. At this point, a pattern for naming these configuration options should be apparent: the top-level name is the name of the service you are configuring, making it easy to organize your configurations and find the settings you are looking for.zeebe.clusterSize, zeebe.partitionCount, zeebe.replicationFactor, and zeebe-gateway.replicaseach of these settings controls how Zeebe (Camunda’s engine) scales and manages its brokers and data partitions. For our simple local environment, we don’t need any scaling or data partitioning, so these are set to their minimum value of 1.zeebe.pvcSizea PVC is a “persistent volume claim.” Using “persistent volumes” with containers means that the data stored on that storage volume will still be available if the services stop. The data is persisted on the host system then retrieved when the services start again. The PVC tells the system how much storage to set aside (claim) for the persistent volume. In this case, we are setting aside 10 gigabytes.zeebe.resources and zeebe.initResourcesthese two settings are, admittedly, something of a hack for running locally. Every workstation has a different amount of available resources (CPU, RAM, etc.), making it very difficult to configure how much of these resources the services should use. These settings override the defaults, and tell the system to use the lowest amount of resources possible. If you have a powerful enough workstation, you can remove these two settings! These are two settings you won’t use in a production environment.connectors.enabled and connectors.inbound.modewith these two settings we are enabling Connectors, but limiting them to Outbound Connectors only for simplicity.elasticsearchI know I said we would look at every setting, but there is a lot configured for Elasticsearch. This is because Elasticsearch requires more configuration than Camunda’s products. Camunda’s Helm charts use Elasticsearch’s Helm charts, so these settings are all taken directly from Elasticsearch’s Helm charts documentation.
Starting Camunda Self-Managed
Congratulations! You made it through the configuration! Now for the fun part: starting Camunda and monitoring each pod. If you haven’t already, copy the configuration file above and save it as camunda-values.yaml. Next, open a terminal or command prompt and navigate to where you just saved the camunda-values.yaml file.
(Note: the name camunda-values.yaml is an arbitrary name. Feel free to call it whatever makes the most sense for you.)The first step to starting all the services is to create a cluster.
A Kubernetes cluster is a set of nodes, and each node can run one or more pods, and a pod can run one or more containers. This architecture is what makes Kubernetes highly scalable (and also what can make it very confusing and complex). For our simple local installation, we don’t need to worry about anything beyond creating the cluster itself. To do that, we will use kind. In your terminal, run the following command:
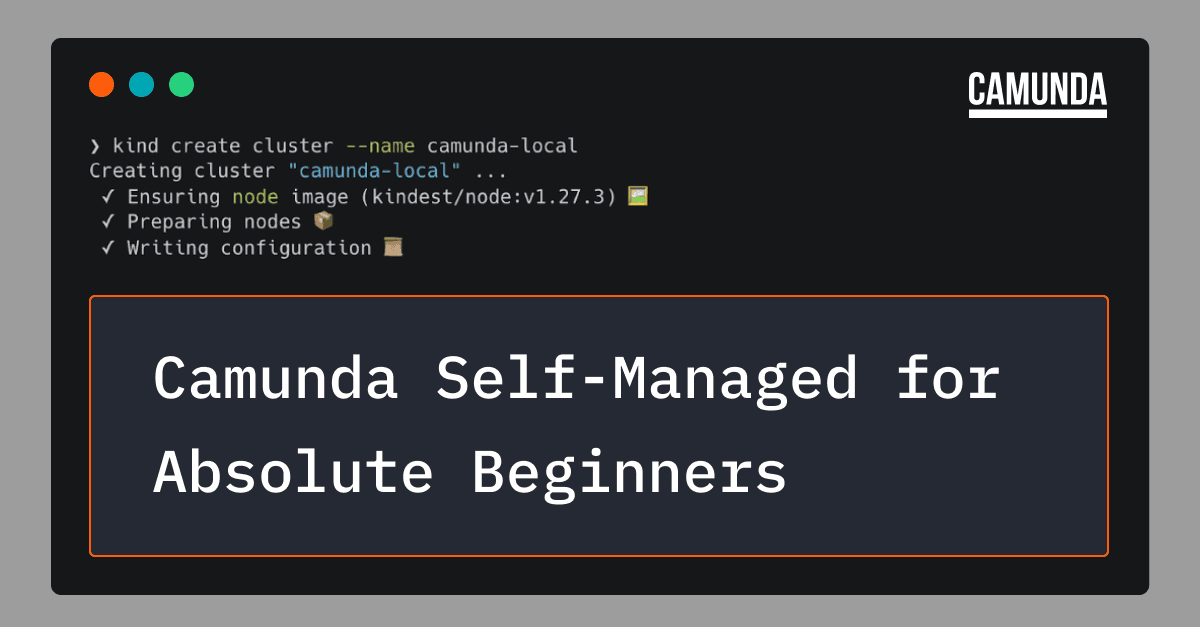
kind create cluster --name camunda-local
This tells kind to create a new cluster with a specific context name. Kubernetes contexts allow you to easily switch between different Kubernetes instances, which is helpful if you are running more than one application locally with Kubernetes. To see all the available contexts, you run the following command:
kubectl config get-contexts
(You may have noticed that you have a context named kind-camunda-local instead of just camunda-local. kind prefixes the contexts it creates.)
The next step is to tell Kubernetes that we want to use our newly created context and cluster:
kubectl config use-context kind-camunda-localOur cluster is now configured, and the tools are set to use the kind-camunda-local context by default. It’s time to use Helm to start all of our services. First, we add the Camunda Helm repository so that Helm knows where to fetch the configuration files from:
helm repo add camunda https://helm.camunda.io
helm repo update
Then, we tell Helm to install everything by applying our camunda-values.yaml file to the official Camunda Helm charts. Because we set the default Kubernetes context to our new cluster already, everything will be installed to that cluster without needing to explicitly specify it.
helm install camunda-platform camunda/camunda-platform -f camunda-values.yamlThis command tells Helm to use our camunda-values.yaml file to configure the Helm charts pulled from the camunda/camunda-platform repository, and gives it the release name camunda-platform. (Read more about Helm release names here.)
That’s it! Everything is starting up behind the scenes. This is where k9s comes in handy. In your terminal, run the command k9s to open the application. After it initializes you should see a screen that looks quite similar to this:

As with many things Kubernetes, this may look intimidating at first (I also think it looks quite lovely but maybe that’s just me!).
One thing you may notice is that there are two distinct namespaces: default and kube-system. You may also notice that the pods running in the kube-system namespace all have a status of Running while the services in the default namespace are in a different state. This is absolutely normal!
Before we get into why, let’s hide the kube-system pods: these pods are essentially system pods, related to running Kubernetes and not directly related to running Camunda. In k9s press the number 1 key on your keyboard and it will filter the list down to just the Camunda services.

That’s better! At this point the pods should all be starting up. This can take some time. Depending on your system resources, internet connection speed, and other factors, it may take several minutes for everything to start.
(Don’t start worrying until at least five minutes have gone by!)
The names start with camunda-platform (which is one of the parameters we used in the helm install command), followed by a service name, followed by a unique identifier. (You might notice that Zeebe and Elasticsearch just have 0 as a suffix rather than a unique identifier. That is because these two services are StatefulSets, the Kuberenetes term for services that hold their state. You can learn more about StatefulSets here!)
After a few minutes (while writing this article, it took an average of 3.6 minutes for all my services to start), all of your services should have a Status of Running, and you should see 1/1 under the Ready column.

What if a service doesn’t start?
Well … it depends! There are lots of reasons that a service may not start. Because we are using a very minimal configuration, the first thing to check would be resources. Inside Docker, you can allocate more CPU or memory for the containers (refer to the Docker documentation for your version of Docker on how to do this).
Unfortunately, it’s not possible to list every possible error that may occur in this post. Though I’ve tried to make this basic configuration compatible with most systems, there are lots of variables that affect how Kubernetes runs and how the services start up.
If your services still aren’t starting, please join our forums, search to see if there’s already a topic with your error condition, or start a new topic that includes the outputs of the pod events and logs.
Gathering Events and Logs
In order for the Camunda community in the forums to help get your cluster running, you need to include the events and logs for the services that aren’t starting. k9s makes gathering logs very easy to do locally. You can view many of the available commands at the top of the window. Using your arrow keys, select the pod that is having problems, and press d to describe that individual pod. Scroll to the bottom (or use the keyboard shortcut Shift+G), and you will see a list of events. Copy and paste these into your forum post.
Next, press Esc to return to the main k9s interface. Ensure that the correct service is still selected, then press l to view the logs. Include any errors you see in the logs in your post!
What’s Next?
First, congratulations! ???? You now have a running, fully functional Camunda Self-Managed installation on your workstation!
If you’d like to learn more about Kubernetes, edX offers free courses to get you started. You can also find lots of fantastic Kubenetes tutorials online. I learned Kubernetes on Udemy!
Once you are comfortable with the basics of Kubernetes, it might be time to experiment with deploying Camunda to the cloud. Camunda has deployment guides for popular cloud platforms, such as AWS EKS and RedHat OpenShift.
Or dive into the configuration and work to get Optimize or Inbound Connectors working in your local installation.
Challenge yourself! And as always, if you encounter any problems, let us know on the forums.
Keep your journey going
Be sure to keep going with the next post in this series: Camunda Self-Managed for Absolute Beginners, Part 2—Ingress and TLS SSL.


