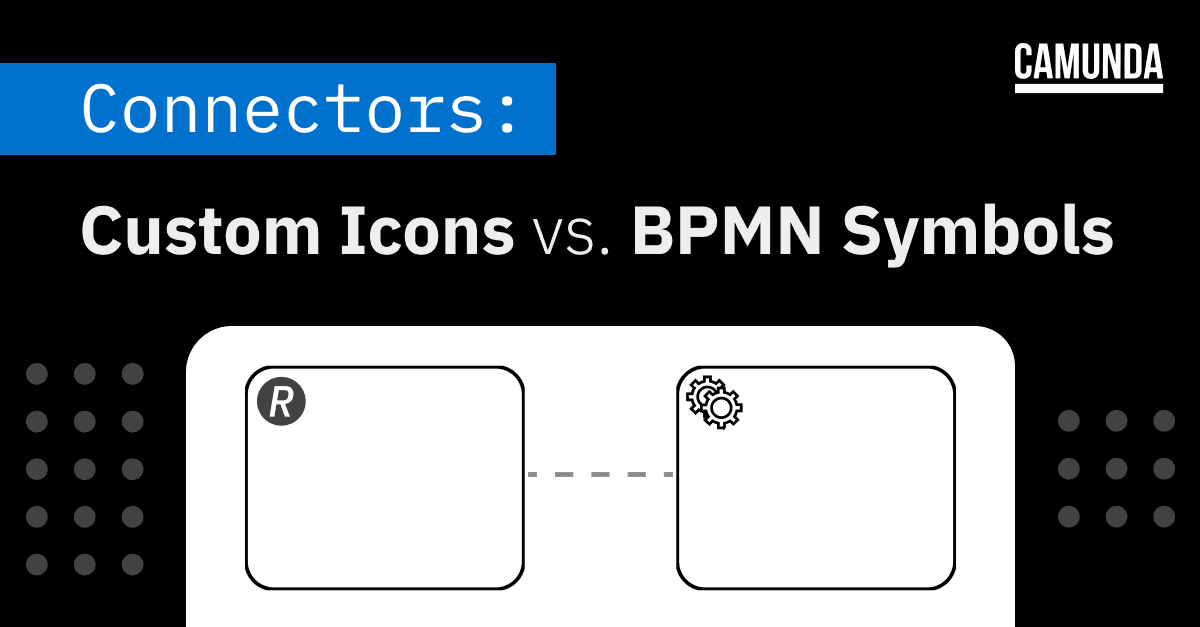
Engaging with our community is always a thrill, and today’s post is no different. A while back, we introduced Out-Of-The-Box (OOTB) connectors. When using Connectors, we show a custom symbol on the BPMN symbol, for example a Kafka icon for the Kafka outbound connector. This also means we are not showing the original BPMN syntax—the cogs symbol of the underlying service-task in that case—anymore. This move sparked discussions about whether changing traditional BPMN syntax combined with custom icons contradicts the norm or enhances the overall user experience.
To clear the air, we’ve conducted user research to better understand your preferences. This article unveils our discoveries and delineates our future actions to ensure an optimal user experience for all.
Results of the Survey
We held discussions with various Camunda users, including BPMN beginners and experts. The feedback was enlightening:
Pros of custom icons:
- Business analysts mostly focus on task names, not task types. Custom icons help them understand the processes quicker.
- Users appreciated the logo’s self-explanatory nature, aiding immediate recognition of each connector’s function.
- Custom icons were seen as (reusable) domain-specific building blocks, offering a path towards coupling to an application rather than decoupling.
Cons of custom icons:
- Critics felt that introducing custom icons contradicts the intent of BPMN, which is to create a standard visual language for all process modelers.
- Custom icons may hide BPMN event types, making it challenging to distinguish between different types of tasks, for example sending or receiving tasks.
Our Conclusion
The feedback showed diverse views about BPMN symbols vs. custom icons. While some found custom icons helpful, others saw them as hindrances. Our primary goal is to ensure processes are quickly and easily understood. To offer maximum flexibility, we’ve decided to leave the choice between BPMN Symbols and custom icons to the user.
Note that we opted against hybrid solutions due to the complexity of representing custom icons, especially with events.
The most crucial aspect is process clarity. If custom icons assist you or your stakeholders, feel free to use them. If you want to work BPMN-compliant, refrain from using custom icons. Due to the different opinions, we have currently decided not to change the appicon of our Connectors for the time being. However, we will continue to monitor it and do everything we can to conveniently offer our users both options.
We’ve implemented or will implement the following features to support you:
- Custom icons can be removed from the templates, revealing the original BPMN symbol.
- The new “Save Configuration as new Connector” feature will allow users to easily remove the BPMN symbol in the template editor for an existing OOTB Connector.
- This new Connector can be shared company-wide with the new “Share template with your organization” feature.
- We’re also considering how we can offer Connectors with both BPMN syntax and custom icon downloads in the future.
How to replace the custom icon with the BPMN symbol in Modeler
This is a short tutorial detailing the process of using OOTB connectors without custom icons. Generally, the process of eliminating the icon is straightforward. All that’s required is deleting the ‘icon’ property and its corresponding value.
Let’s make this more concrete with an example:
- Open Web Modeler and create a blank BPMN diagram

- Add your preferred OOTB Connector to the model canvas via the three dots (“append element”)

- Click on your new added OOTB Connector (in this case it will be a REST Connector) to see the property panel

- Click on

- Give it a new name,add a description and click save

- Click on view Connector template to edit the new created Connector
- Search for and delete the ‘icon’ property

- Select “Publish to project” to make your connector in the project accessible or “publish to organization” to make it available for everyone in the organization

Enter a version numberIn this step, you’ll integrate your new Connector into your project. To do this, first open a BPMN diagram. Once you’re in the BPMN diagram, click on the “wrench” icon, which is the “change element” button. A list of templates will appear, from which you need to select your newly created template.Now you can see the REST Connector as a service task without any custom icon


Congratulations! You’ve successfully created a REST Connector that’s displayed in pure BPMN syntax as a service task.
Remember, this process can be applied to any Connector template, providing maximum flexibility for the user. We’re committed to frequently reviewing and enhancing this feature as needed.
Thank you to our community
We express our gratitude to those who contributed their insights during our interviews. If you’re interested in participating in future user interviews, don’t hesitate to get in touch with us via our forum.
Try it out yourself
If you’re a customer, you can try it out yourself right now. If you’re new to Camunda, you can sign up for a free account to get started.


