

This article is the fourth in a series exploring fun, straightforward ways you can control workflows using Camunda Cloud — have a read of the others for some background if you’d like to see Camunda Cloud in action with Restzeebe, without a line of code:
- Is there an alternative to Spaghetti?
- How can you Teach a Workflow to Execute a specific task?
- Automate manual tasks with Camunda and Trello
Do you use Slack? How about adding a level of automation to this widely used collaboration tool, that is making email obsolete in many organizations?
Let’s say you already widely use Slack in your company and want to receive an active notification when a new user has registered to your service? You can create a new channel just for that purpose and all Slack users who are interested can join the channel. If you already have an onboarding process running you can simply add a new service task with the Slack worker and that’s it 😉
This use case sits within a wider portfolio of useful integrations that can be applied in many places, and it’s a really useful one to have in your toolkit.
What is needed?
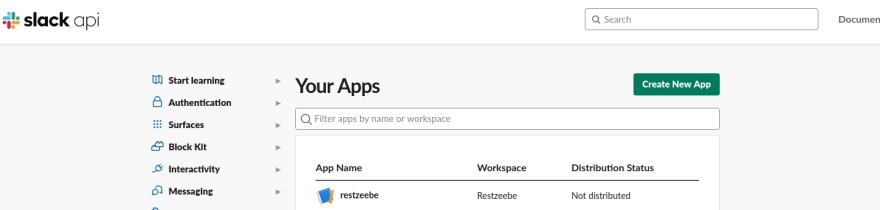
Since we want to integrate with Slack you need a Slack Workspace. Navigate to your Slack Apps and create a new Slack app or use an existing one.
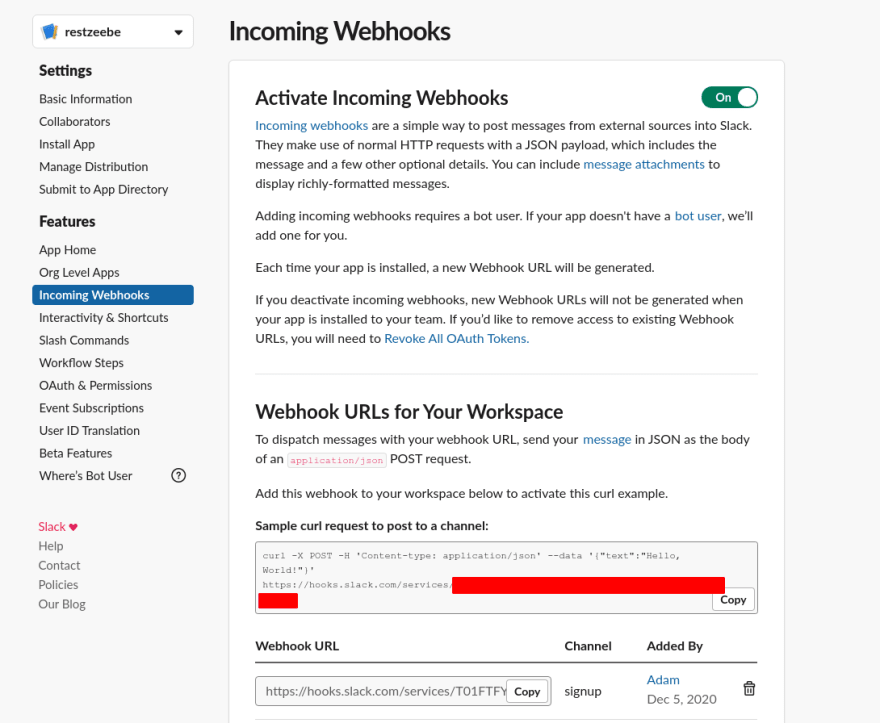
Enable Incoming Webhooks and add a new webhook to a channel:
Implement Worker
The next step is to have a worker that sends messages to this Slack channel via the webhook that has been set up.
import { IncomingWebhook } from '@slack/webhook'
import { ZeebeController } from '../zeebe.controller'

const SLACK_WEBHOOK_BASE = 'https://hooks.slack.com/services'

export class SlackWorkerController {
  private webhook: IncomingWebhook | null = null

  constructor(private zeebeController: ZeebeController) {}

  public createWorker(taskType: string) {
    this.zeebeController.getZeebeClient().createWorker({
      taskType,
      taskHandler: async (job: any, complete: any, worker: any) => {
        const webhookid = job.customHeaders.webhookid
        const message = job.customHeaders.message

        const webhookurl = `${SLACK_WEBHOOK_BASE}/${webhookid}`
        this.webhook = new IncomingWebhook(webhookurl)

        try {
          await this.send(message)
          complete.success()
        } catch (error) {
          complete.failure('Failed to send slack message')
        }
      },
    })
  }

  private async send(message: string) {
    const slackMessage = {
      text: `🚀 ${message} 🚀`,
      mrkdwn: true,
      attachments: [
        {
          title: `Greetings from Rest Zeebe!`,
        },
      ],
    }

    if (this.webhook) {
      await this.webhook.send(slackMessage)
    } else {
      throw new Error(`Failed to initialize Slack Webhook`)
    }
  }
}
The worker uses the official Slack Node Client, which makes integration a breeze. The parameters set are the webhookId and the message. This allows the worker to be used in different places with different webhooks. The message could alternatively come from the process context, but that depends on how you want to use the service task.
A small process with the Slack Task
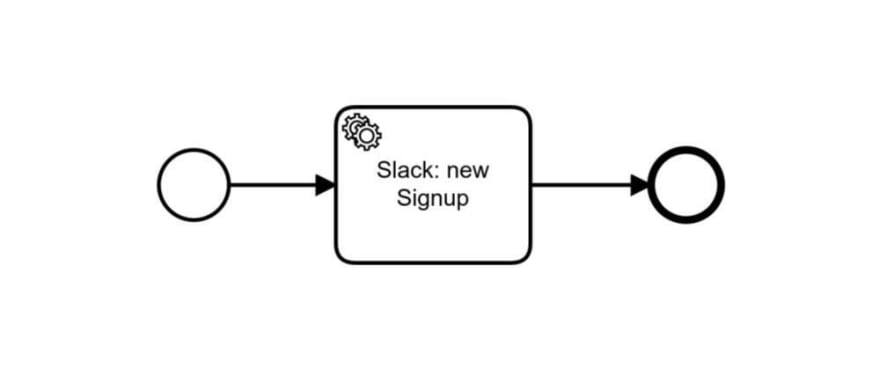
The process gets more and more exciting when you integrate this service task into a larger context.
Happy Slacking! 😉
This blog was originally published on dev.to. If you like this great tutorial, follow Adam on Twitter, LinkedIn or GitHub
Start the discussion at forum.camunda.io